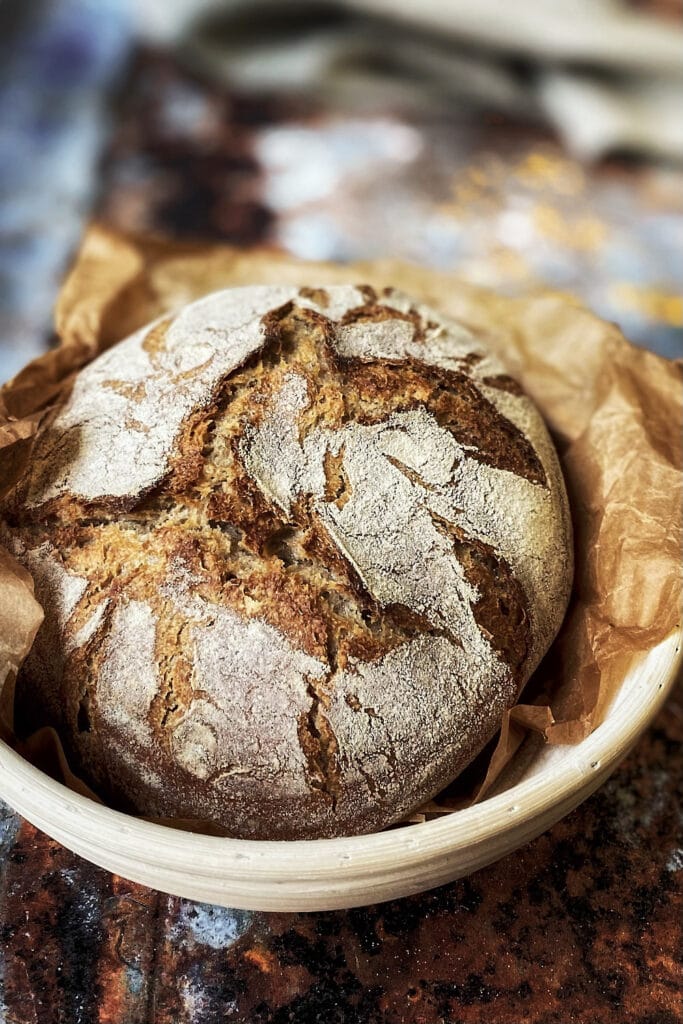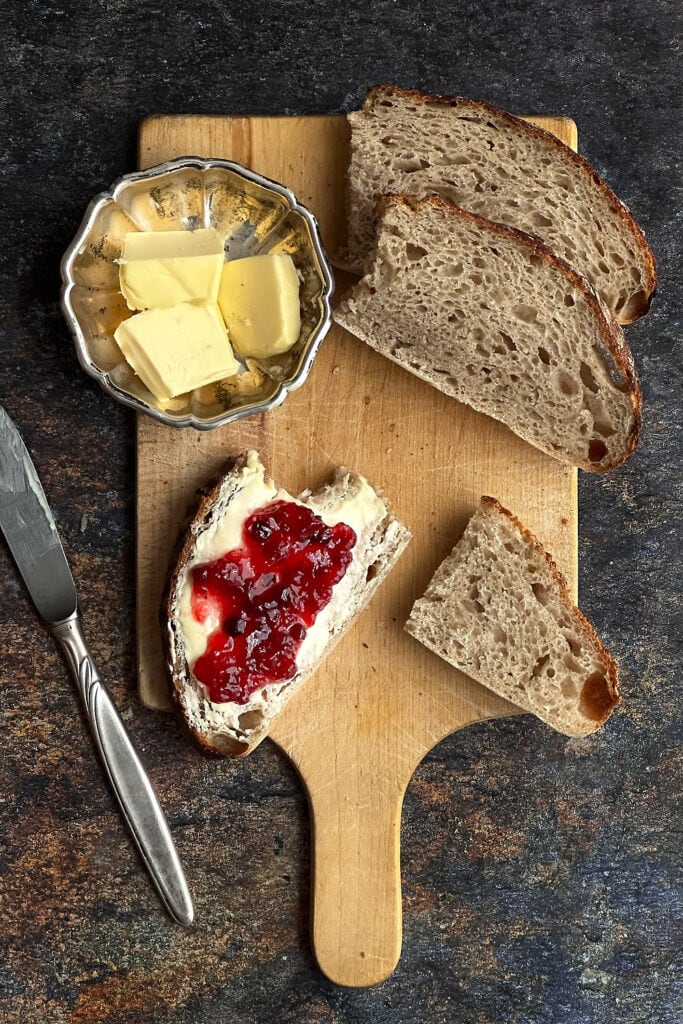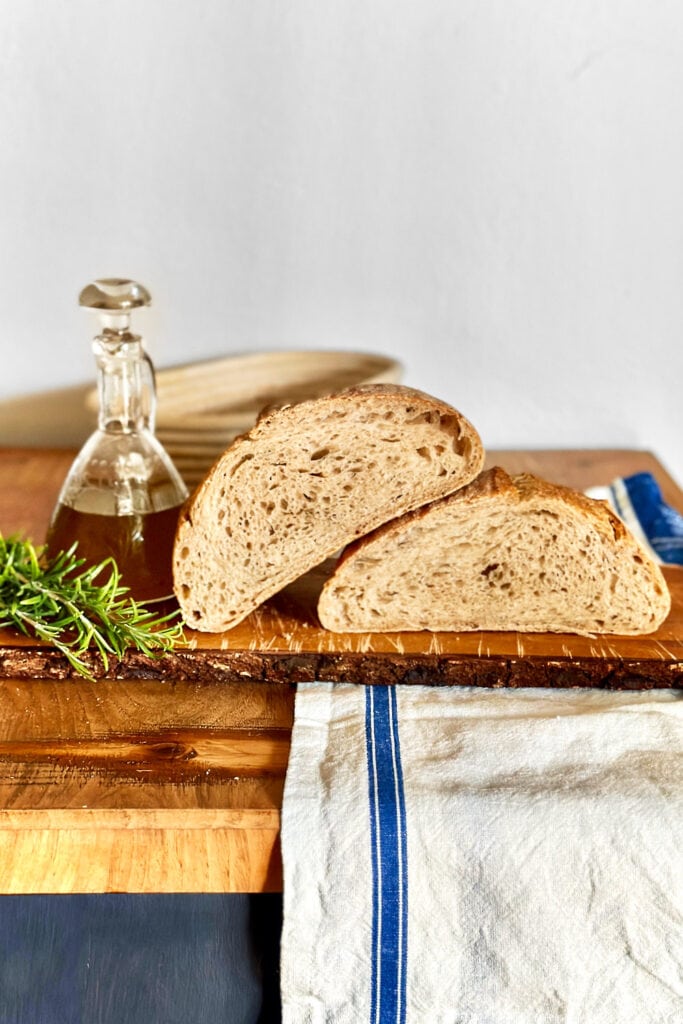
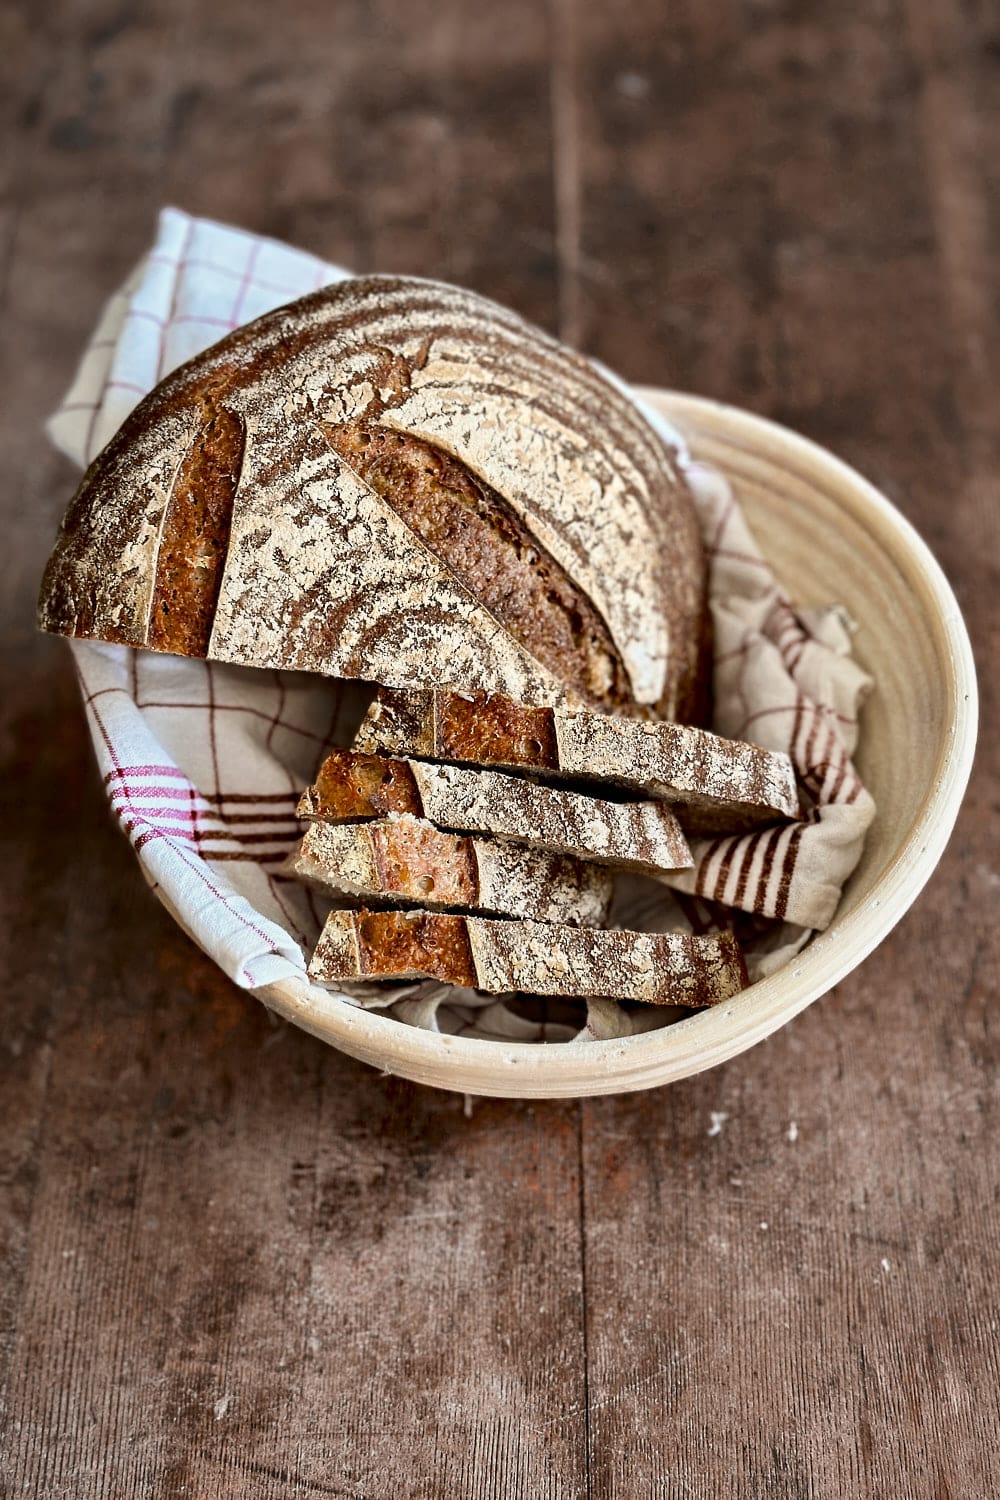
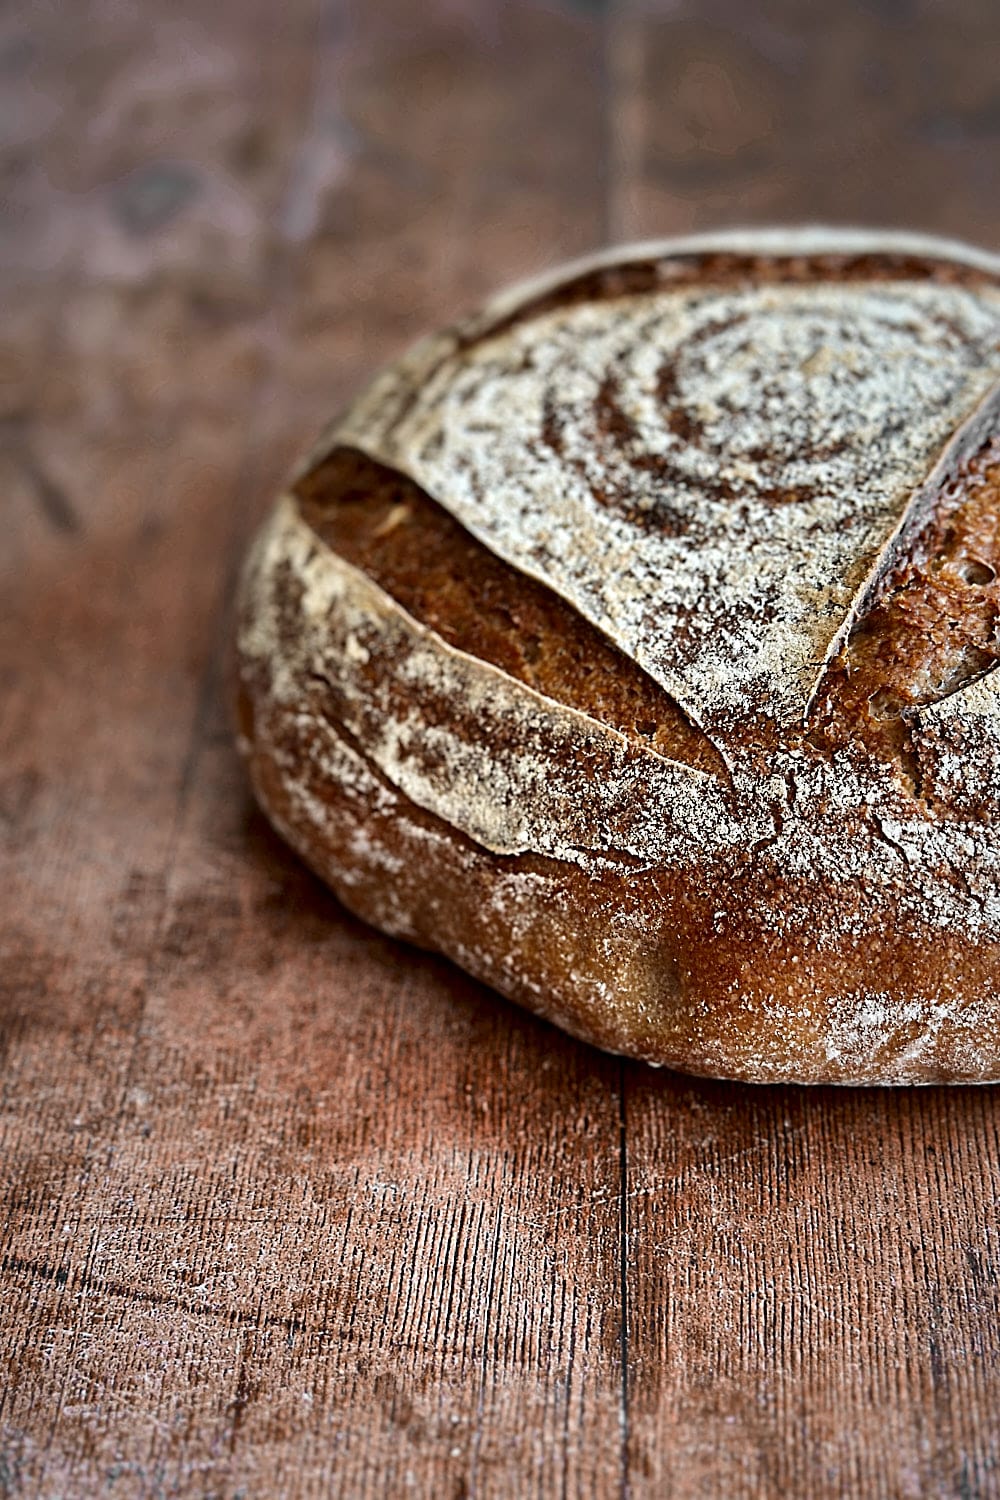
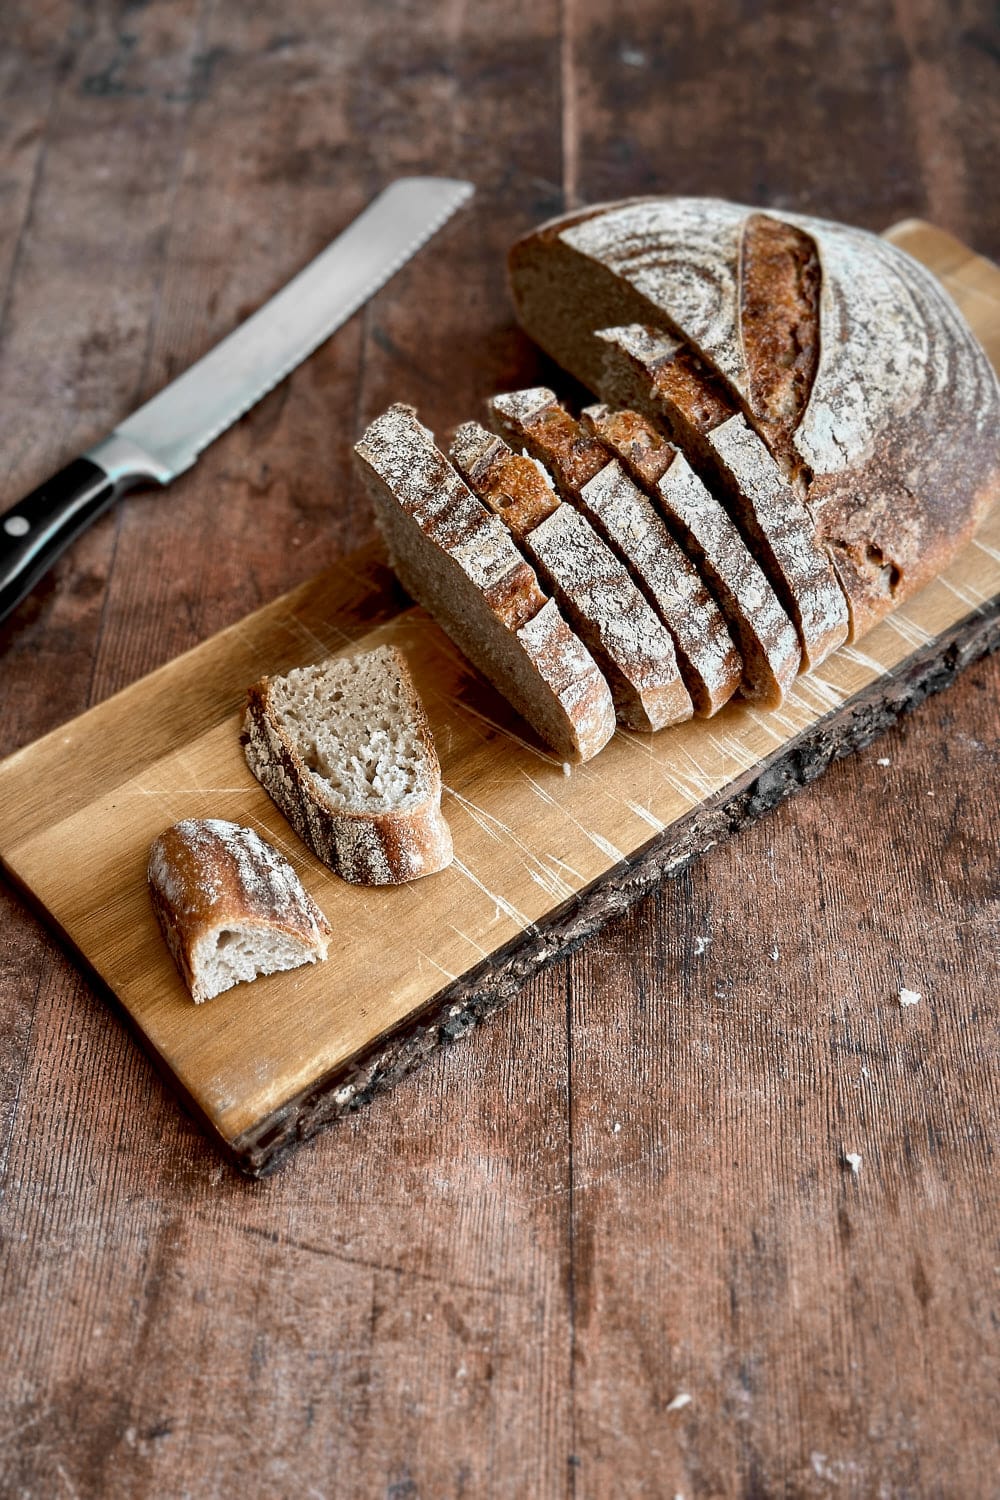
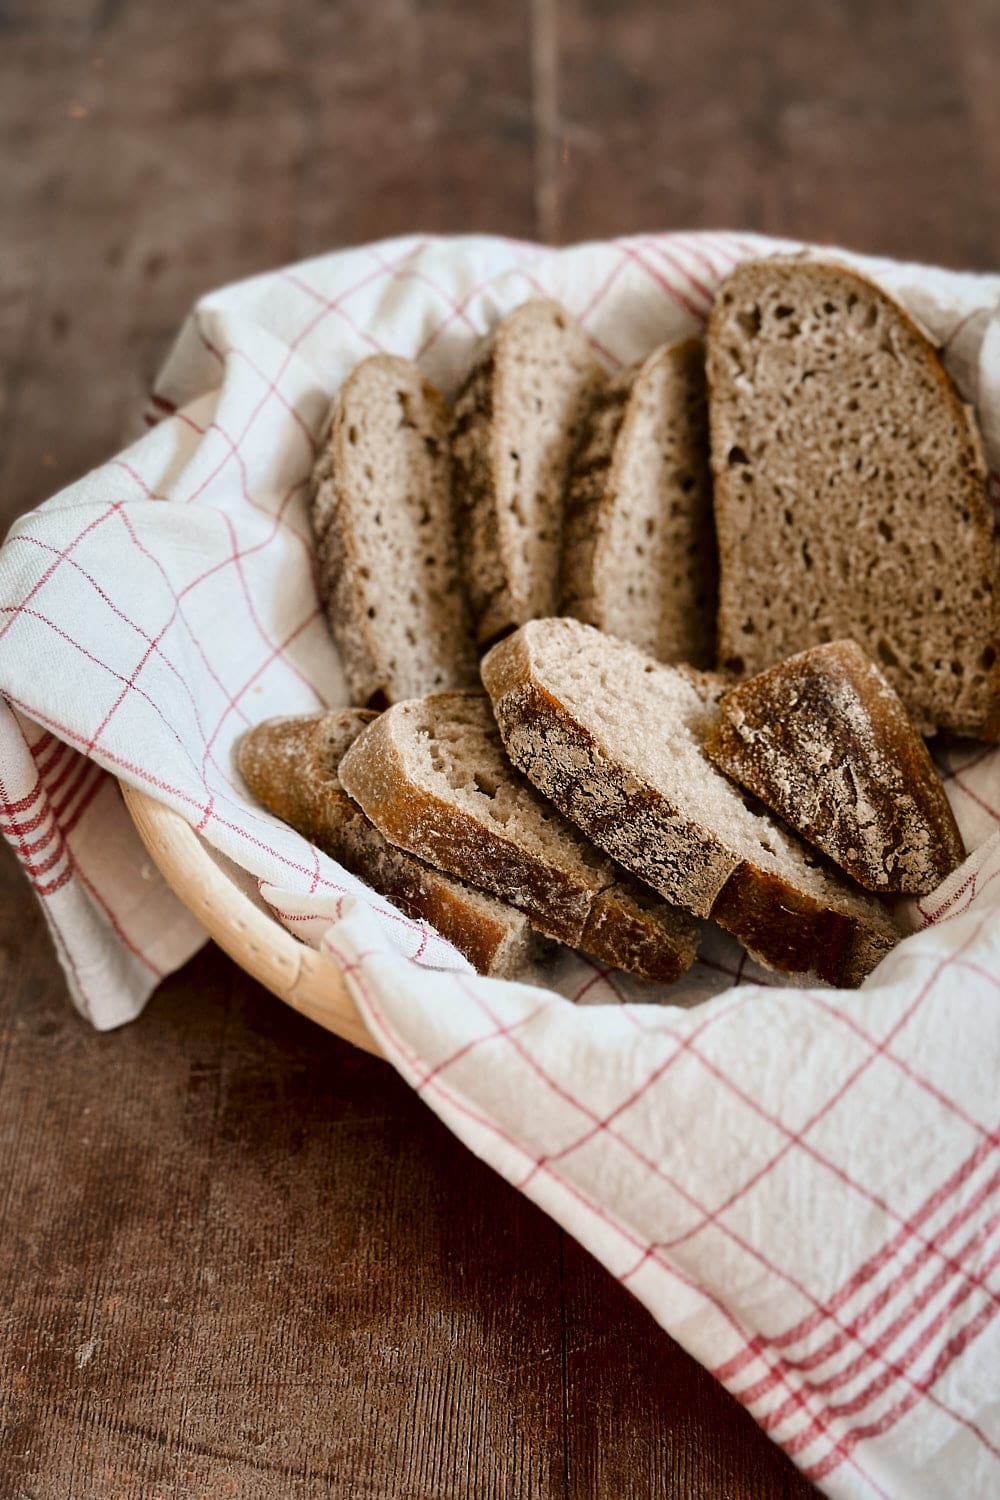
Rustic Rye Sourdough Bread
This rustic rye sourdough bread combines the rich, earthy flavors of rye flour with the tangy complexity of a sourdough starter. A slow fermentation process contributes to its unique taste and dense, chewy texture. Due to the high amount of rye flour, this bread is also rich in nutrients and fiber, making it a healthier choice compared to many other types of bread.
Ingredients and Tools You’ll Need
Step-by-Step Instructions
Step 1
In the morning, make the leaven: Add the sourdough starter and water to a mason jar. Stir until the starter is fully dissolved. Then, add the flour and mix to combine. The leaven will have a stiff, dough-like consistency. To ensure that the flour is fully incorporated, you can briefly knead the leaven on the counter until it feels smooth and elastic. Place it back into the jar, cover it loosely with a lid, and let it rise in a warm spot (ideally between 26 °C and 29 °C) for about 4 hours, or until it has doubled (or even tripled) in size. It’s ripe and ready to use when it looks airy and has a mild, yogurt-like aroma. Please keep in mind that the actual time it takes for the dough to rise may vary depending on your room temperature and the activity of your starter. In a cooler environment, the dough may need more time to rise. Always make sure to only use the leaven when it has at least doubled in volume. This ensures that it’s strong and active enough to raise the bread dough.
Step 2
Once the leaven is ripe and ready to use, prepare the main dough: Add the leaven, lukewarm water, and honey to a mixing bowl. Using a dough whisk, mix the ingredients until the leaven is almost fully dissolved, and the liquid turns milky white. Next, add the flour and salt and mix until a shaggy dough forms. Rye dough is known for being quite dense and sticky. It’s also less elastic than wheat dough. That’s because rye contains less gluten than wheat flour. Therefore, this dough doesn’t require vigorous kneading for gluten development. Just make sure that the ingredients are fully combined and that there aren’t any dry bits of flour left. The emphasis in making rye bread lies in a slow fermentation process, which allows the bread to develop its unique flavor and texture without excessive kneading. After mixing the dough, transfer it to a clean, lightly greased bowl. This prevents the dough from sticking to the bowl and helps to release it easily after the bulk fermentation.
Step 3
Cover the bowl with a damp tea towel and let the dough rise in a warm spot for about 3 hours. During the bulk fermentation, the dough and the proofing environment should maintain a temperature between 25 °C and 27 °C. Rye dough tends to ferment pretty fast, so keep an eye on it to prevent it from over-proofing. By the end of the bulk fermentation, the dough should have increased in size by about 30%–50%. It should look airy and contain lots of small bubbles.
Step 4
After the bulk fermentation, turn the dough out onto a floured work surface and shape it into a round loaf. Since rye dough isn’t very elastic, you don’t have to worry about building tension when shaping the loaf, as you would normally do with wheat breads. Just try to mold the dough into a rounded shape. Then, place it into a round, floured banneton with the seam side up. Cover it with plastic wrap and place the dough in the fridge for a cold, overnight rise.
Step 5
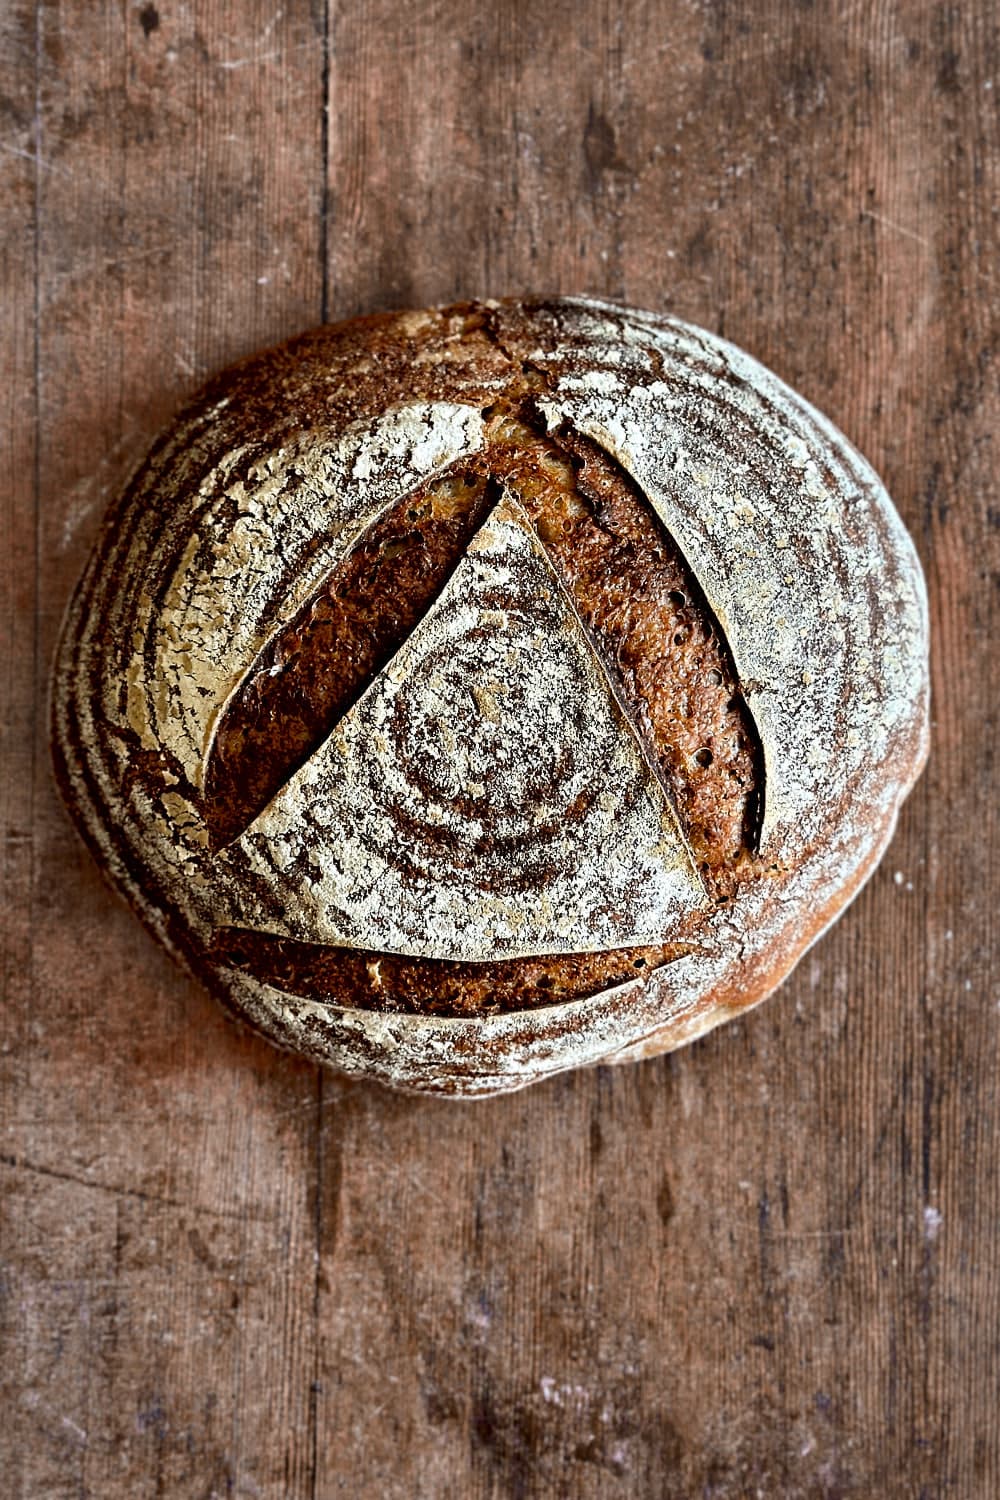
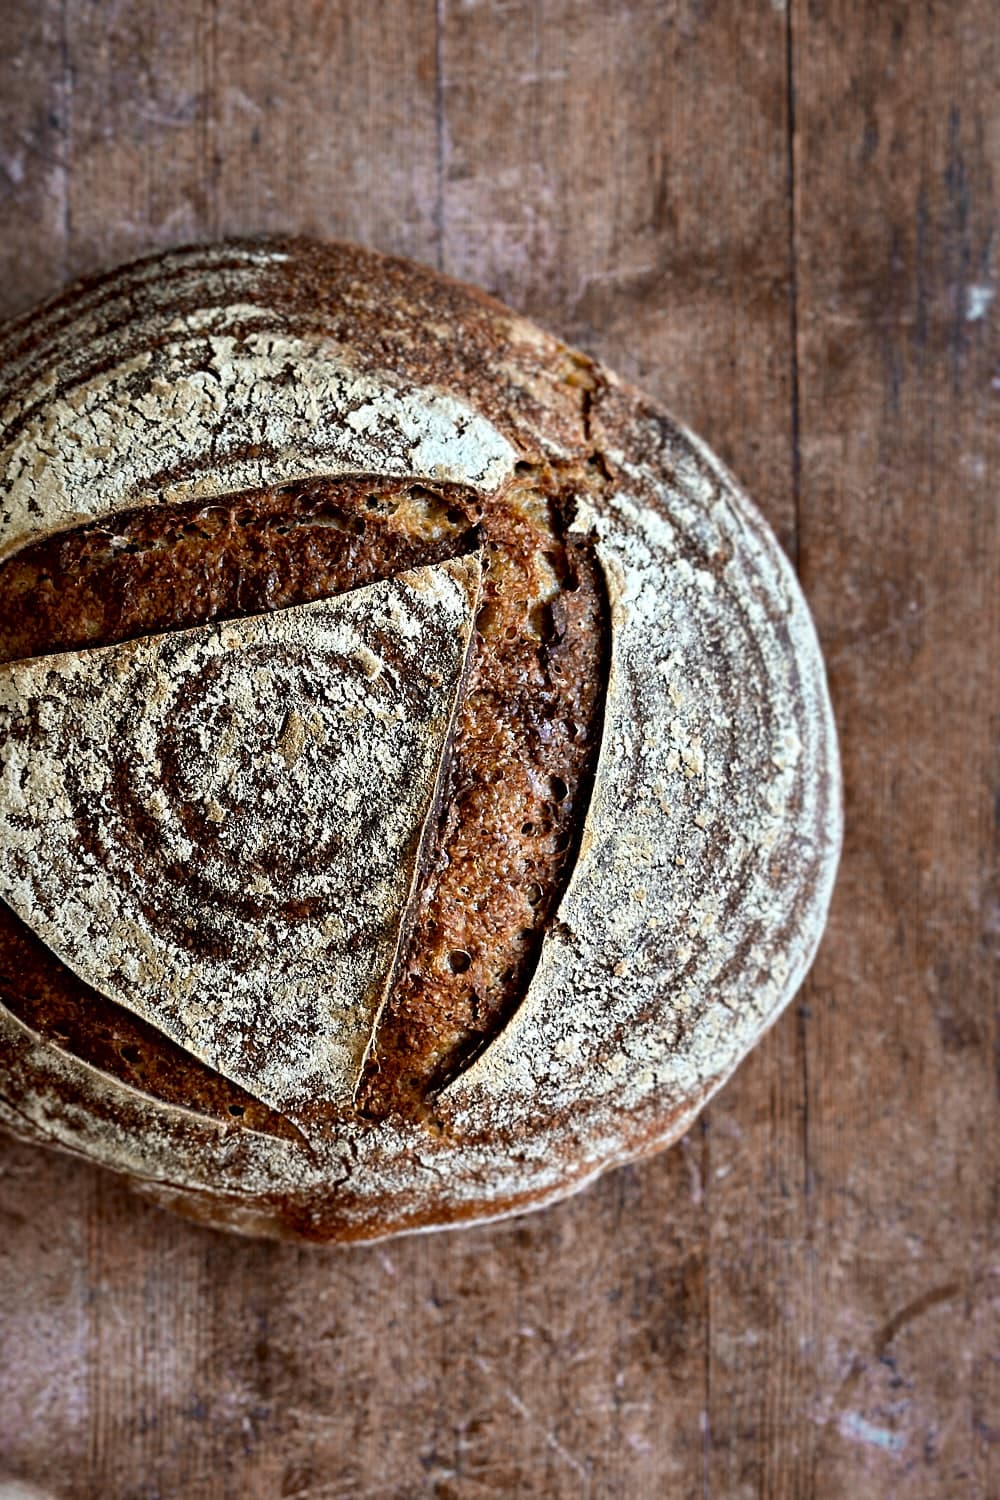
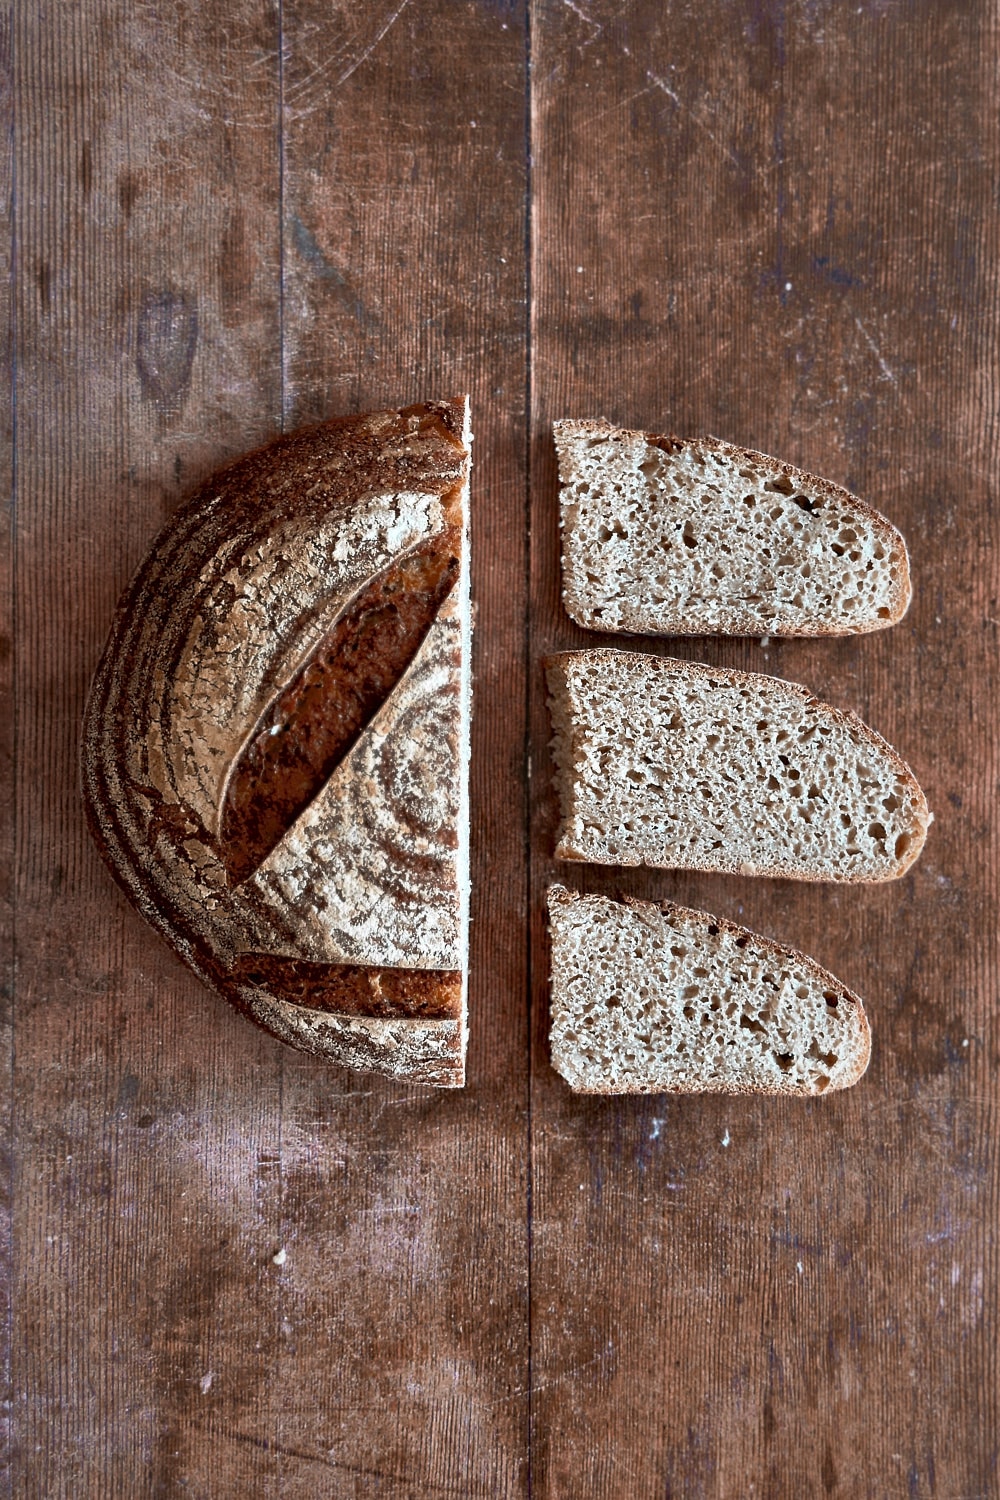
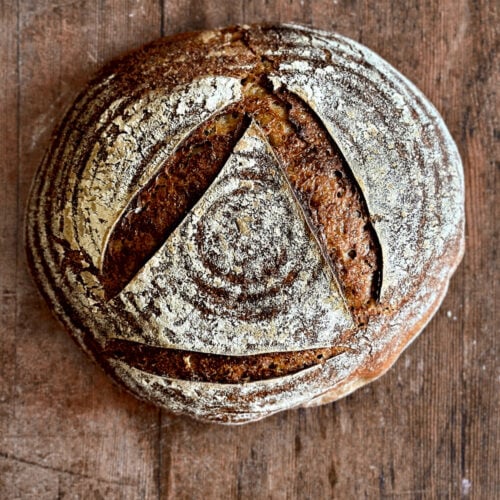
The next morning, pre-heat the oven to 240 °C with the Dutch oven inside. Once it’s pre-heated, carefully take the Dutch oven out and turn the bread dough out of the banneton directly into the Dutch oven. Use a bread lame or a serrated knife to cut a triangle on the top of the dough. Place the lid of the Dutch oven back on and load it into the oven. Bake the bread, covered, for 15 minutes. Then, remove the lid, reduce the temperature to 220 °C, and bake for another 25–30 minutes, or until the crust is crispy and the internal temperature reaches 96 °C. Remove the bread from the oven and let it cool completely for at least 4 hours on a wire rack before slicing. This allows the internal moisture to redistribute evenly throughout the loaf and sets the crumb, resulting in better texture and flavor. Slicing the bread while still warm can result in a sticky and gummy crumb.
Sample Baking Schedule
Day 1
Day 2
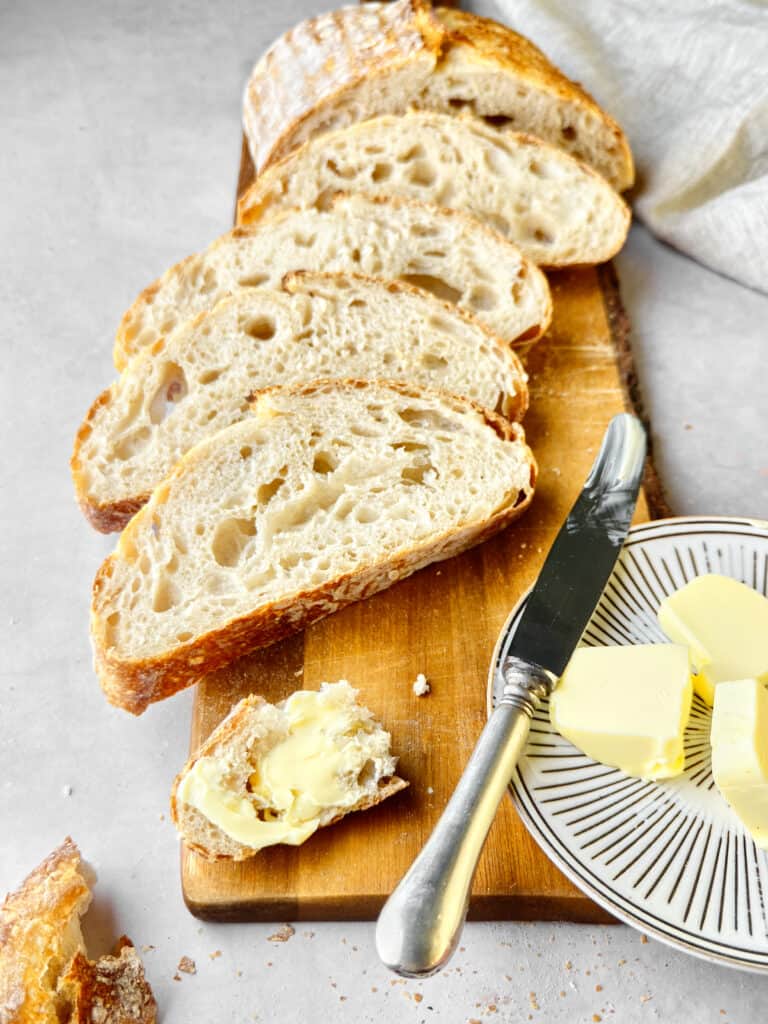
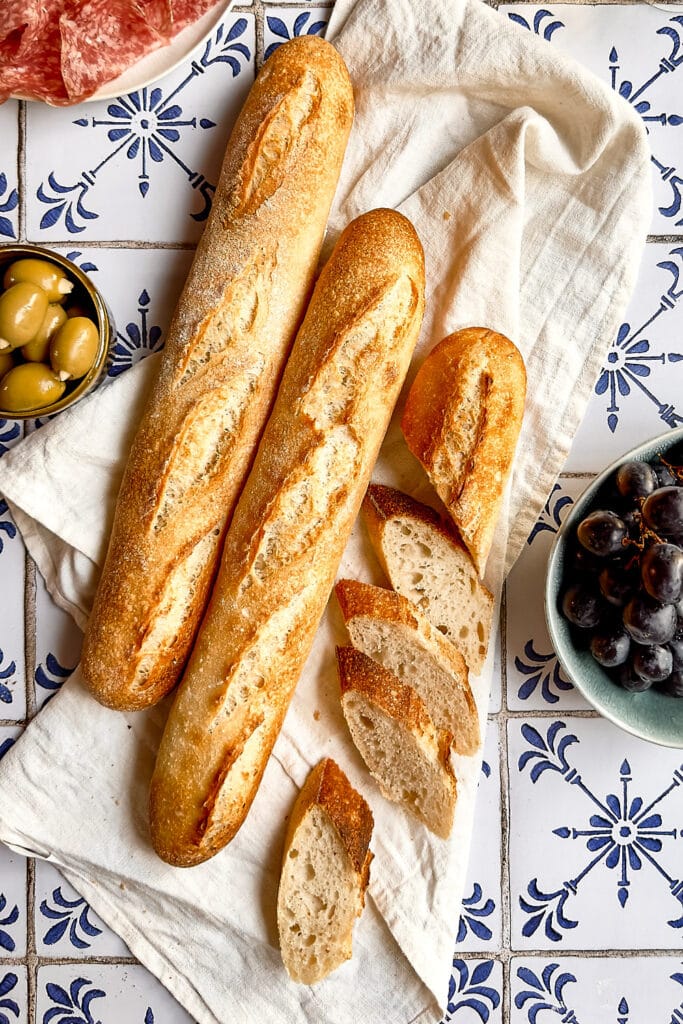
More Rustic Sourdough Bread Recipes:


Rustic Rye Sourdough Bread
Equipment
- Round banneton
- Dutch oven
Ingredients
For the stiff leaven:
- 50 g sourdough starter
- 50 g lukewarm water
- 100 g bread flour
For the main dough:
- 180 g active leaven
- 320 g lukewarm water
- 1 tbsp honey
- 305 g rye flour – Type R 960
- 75 g bread flour
- 11 g salt
Instructions
- In the morning, make the leaven: Add the sourdough starter and water to a mason jar. Stir until the starter is fully dissolved. Then, add the flour and mix to combine. The leaven will have a stiff, dough-like consistency. To ensure that the flour is fully incorporated, you can briefly knead the leaven on the counter until it feels smooth and elastic. Place it back into the jar, cover it loosely with a lid, and let it rise in a warm spot (ideally between 26 °C and 29 °C) for about 4 hours, or until it has doubled (or even tripled) in size. It’s ripe and ready to use when it looks airy and has a mild, yogurt-like aroma. Please keep in mind that the actual time it takes for the dough to rise may vary depending on your room temperature and the activity of your starter. In a cooler environment, the dough may need more time to rise. Always make sure to only use the leaven when it has at least doubled in volume. This ensures that it’s strong and active enough to raise the bread dough.
- Once the leaven is ripe and ready to use, prepare the main dough: Add the leaven, lukewarm water, and honey to a mixing bowl. Using a dough whisk, mix the ingredients until the leaven is almost fully dissolved, and the liquid turns milky white. Next, add the flour and salt and mix until a shaggy dough forms. Rye dough is known for being quite dense and sticky. It's also less elastic than wheat dough. That’s because rye contains less gluten than wheat flour. Therefore, this dough doesn’t require vigorous kneading for gluten development. Just make sure that the ingredients are fully combined and that there aren’t any dry bits of flour left. The emphasis in making rye bread lies in a slow fermentation process, which allows the bread to develop its unique flavor and texture without excessive kneading. After mixing the dough, transfer it to a clean, lightly greased bowl. This prevents the dough from sticking to the bowl and helps to release it easily after the bulk fermentation.
- Cover the bowl with a damp tea towel and let the dough rise in a warm spot for about 3 hours. During the bulk fermentation, the dough and the proofing environment should maintain a temperature between 25 °C and 27 °C. Rye dough tends to ferment pretty fast, so keep an eye on it to prevent it from over-proofing. By the end of the bulk fermentation, the dough should have increased in size by about 30%–50%. It should look airy and contain lots of small bubbles.
- After the bulk fermentation, turn the dough out onto a floured work surface and shape it into a round loaf. Since rye dough isn’t very elastic, you don’t have to worry about building tension when shaping the loaf, as you would normally do with wheat breads. Just try to mold the dough into a rounded shape. Then, place it into a round, floured banneton with the seam side up. Cover it with plastic wrap and place the dough in the fridge for a cold, overnight rise.
- The next morning, pre-heat the oven to 240 °C with the Dutch oven inside. Once it’s pre-heated, carefully take the Dutch oven out and turn the bread dough out of the banneton directly into the Dutch oven. Use a bread lame or a serrated knife to cut a triangle on the top of the dough. Place the lid of the Dutch oven back on and load it into the oven. Bake the bread, covered, for 15 minutes. Then, remove the lid, reduce the temperature to 220 °C, and bake for another 25–30 minutes, or until the crust is crispy and browned to your liking. Remove the bread from the oven and let it cool completely for at least 4 hours on a wire rack before slicing. This allows the internal moisture to redistribute evenly throughout the loaf and sets the crumb, resulting in better texture and flavor. Slicing the bread while still warm can result in a sticky and gummy crumb.