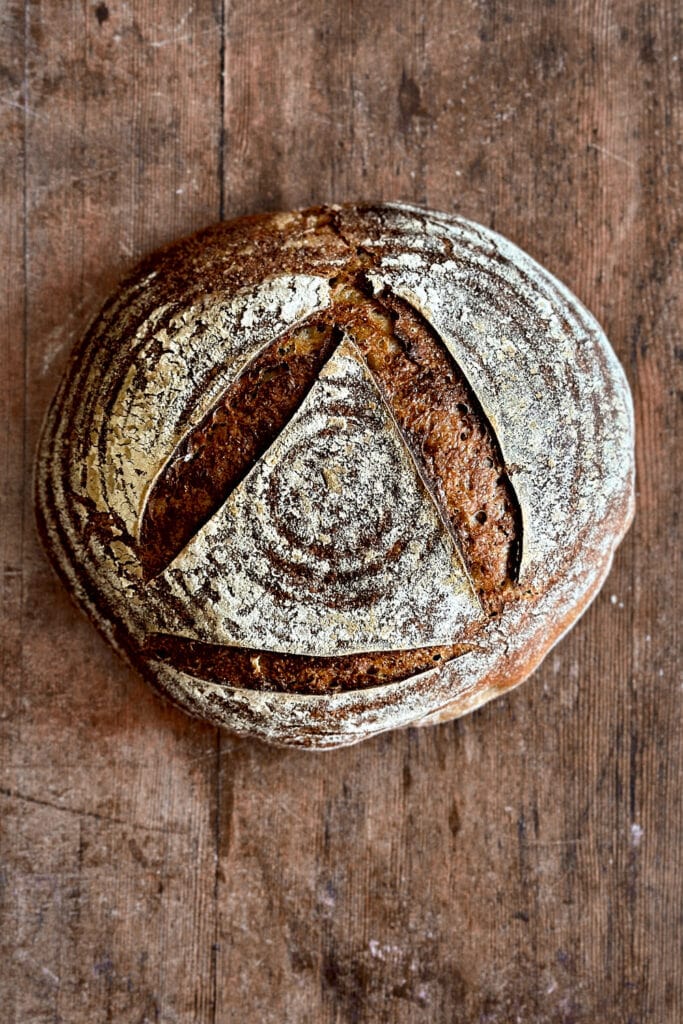
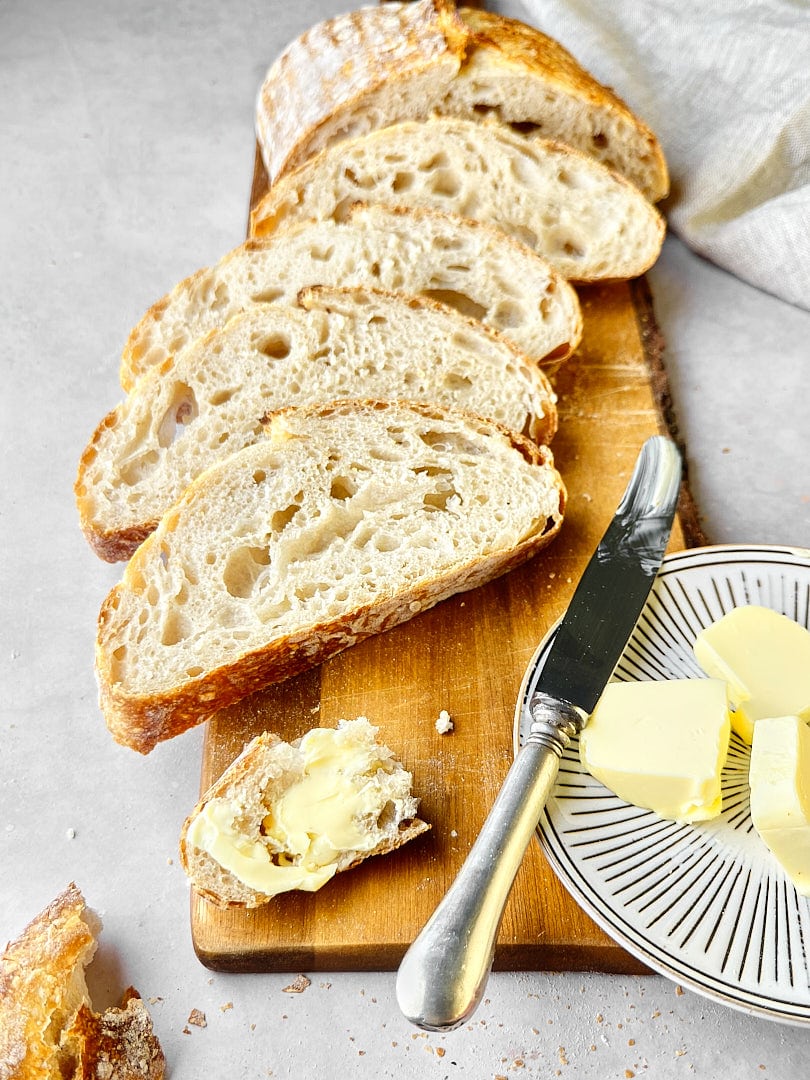
Simple Same Day Sourdough Bread
This simple same day sourdough bread is a great place to start if you are new to sourdough baking or just need an easy recipe with very little hands-on time. It can be made from start to finish in one day and yields a loaf with a soft and airy crumb and a thin and crispy golden crust.
Note: For this recipe, you need a sourdough starter.
Ingredients and Tools You’ll Need
All you need is a sourdough starter, flour, water, salt, and a bit of patience. This recipe uses a simple 1-2-3 ratio (1 part sarter: 2 parts water: 3 parts flour) and can easily be made in just one day.
Step-by-Step Instructions
Step 1
In the morning, prepare your leaven: Mix the sourdough starter with water and flour and let it rest in a warm spot (around 28 degrees Celsius) for 4 -6 hours. It’s ready to use, when it has doubled or tripled in size, looks bubbly and still has a slightly domed top.
Step 2
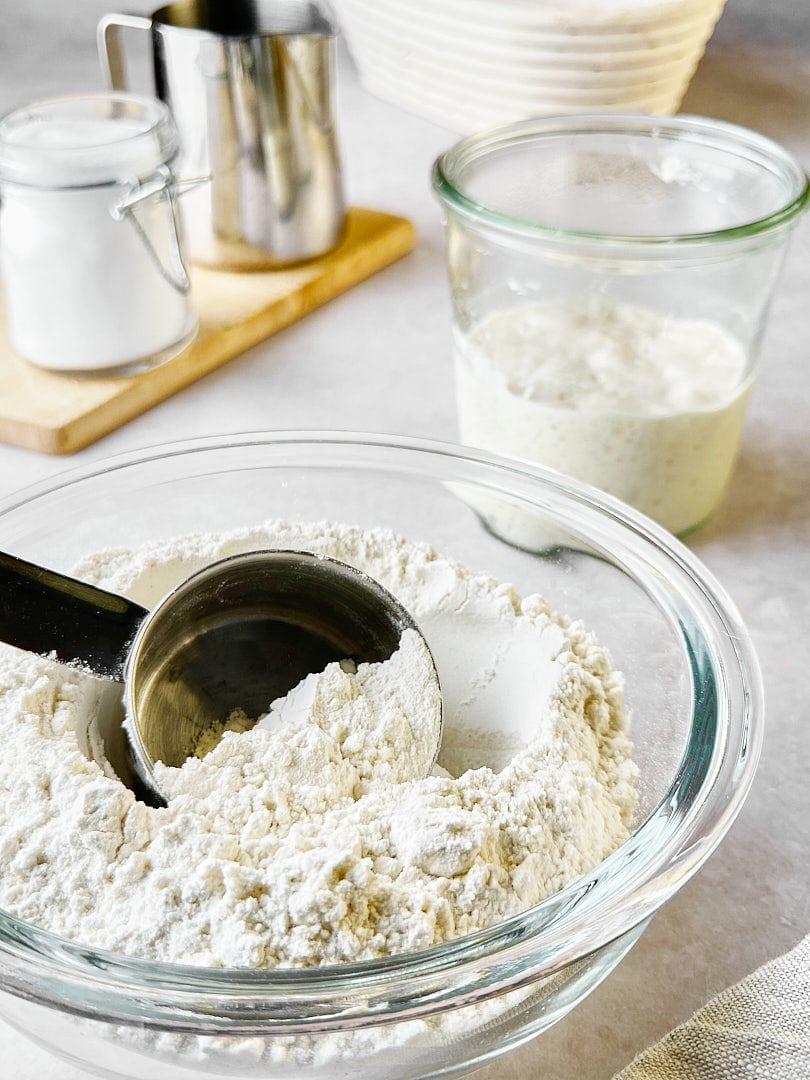
Prepare the main dough: In a mixing bowl, dissolve the leaven in the water and add flour and salt. Use a dough hook or a fork to bring everything together until you have a shaggy dough. Finish mixing with your hands. Make sure that all the flour is well incorporated without any dry patches left. Cover with a damp tea towel and let it rest on the counter for 30 minutes. After the first rest, knead the dough for a few minutes by hand until it starts to look and feel smoother. This only takes about 1–2 minutes.

Step 3
For the bulk fermentation, place the dough in a lightly oiled bowl, cover with a damp tea towel and let it rise in a warm spot for around 4 hours or until you can see visible signs of fermentation. At this stage, the dough should have visibly grown in size, but it doesn’t necessarily have to double. You should see lots of smaller air bubbles throughout the dough and some larger ones on the surface. If the dough still looks dense, let it rest longer.
Step 4
Flour the banneton and set aside. Time to pre-shape: Gently turn the dough out onto a lightly floured surface, bring all 4 corners of the dough into the center, overlapping, to form a loose ball. Flip it over and let it rest for 10-20 minutes. During the bench rest, the gluten will relax, and the dough will spread out a bit. Flip the dough over again and shape a batard. Put the dough into the banneton and let it rest in a warm spot for the final proof, around 1.5 -2 hours. During the last 30 minutes of proofing, pre-heat the oven to 230 degrees Celsius with the dutch-oven inside.
Step 5
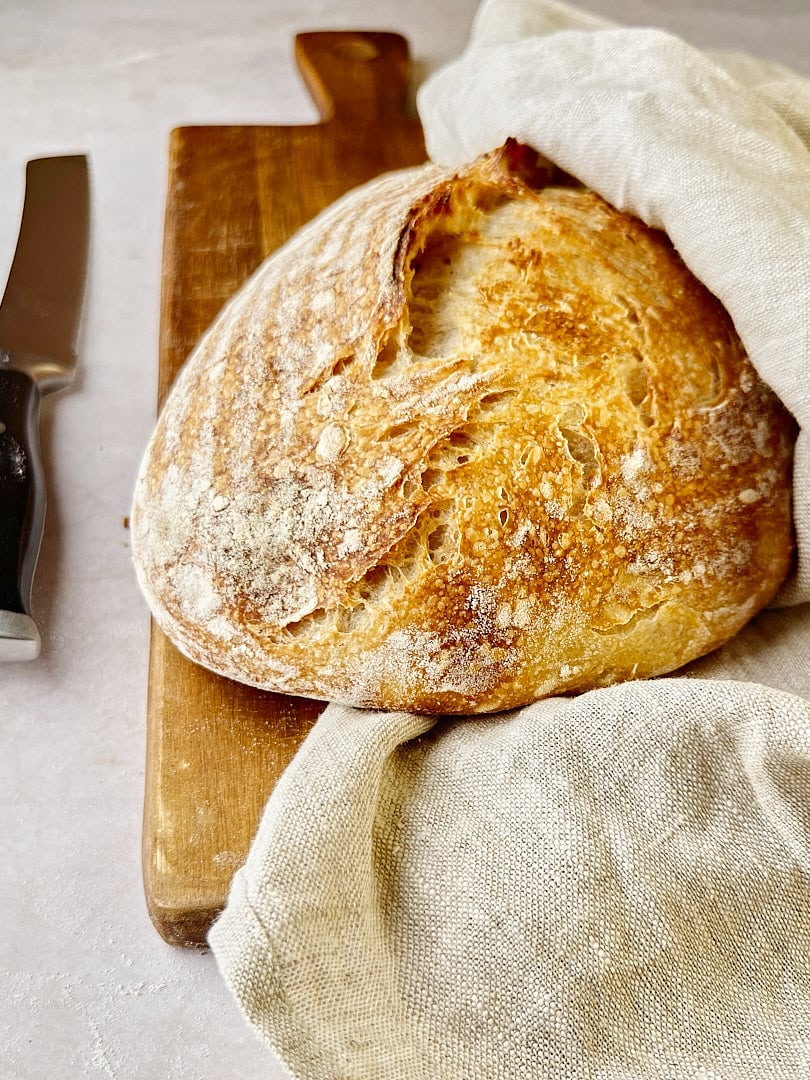
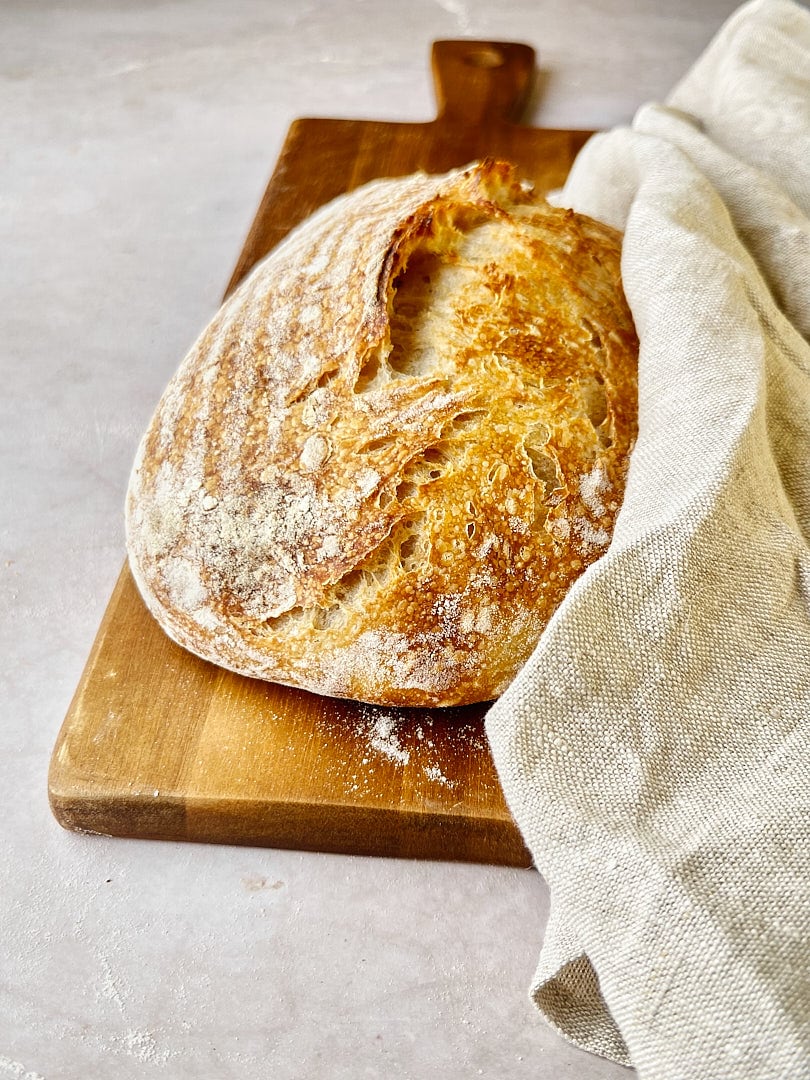
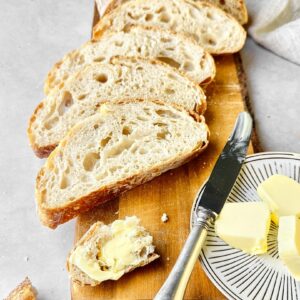
Turn the dough out on a piece of parchment paper, score, and bake for 30 minutes inside the dutch-oven. Then, lower the temperature to 220 degrees Celsius. Lift the bread out of the Dutch oven and finish baking directly on the oven rack for another 10 minutes, or until the crust has a deeply golden color. Let the loaf cool on a cooling rack for at least one hour before slicing. If you cut into it while it’s still hot, you risk ending up with a gummy and sticky crumb. The wait is worth it! This bread is best enjoyed on the day it’s baked.
Tips & Tricks
Common Questions About Sourdough Bread
Sample Baking Schedule
Day 1
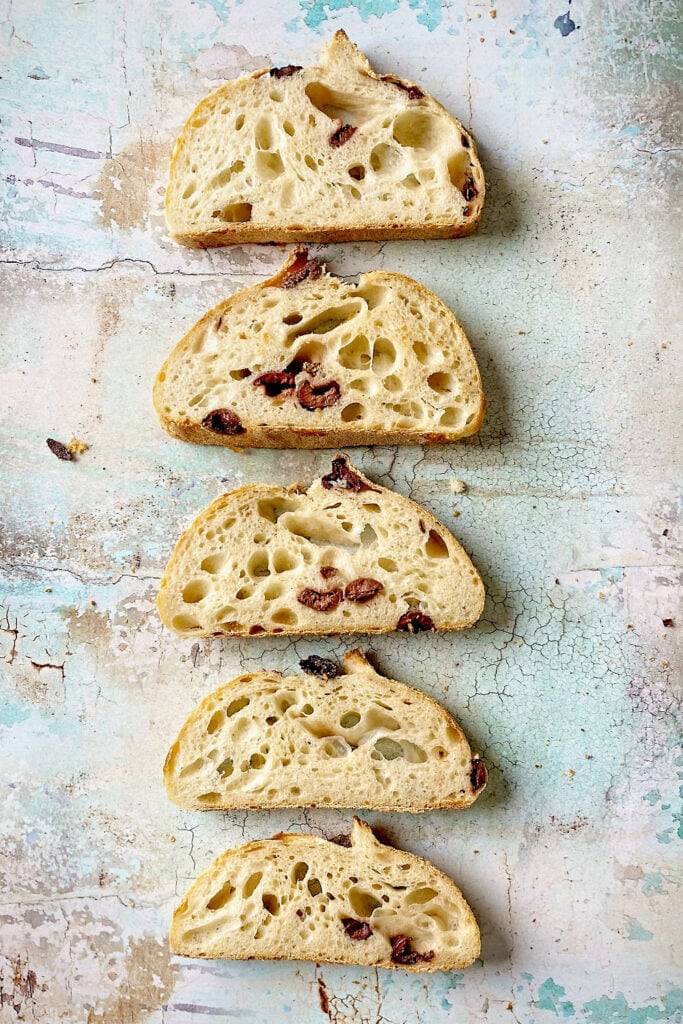
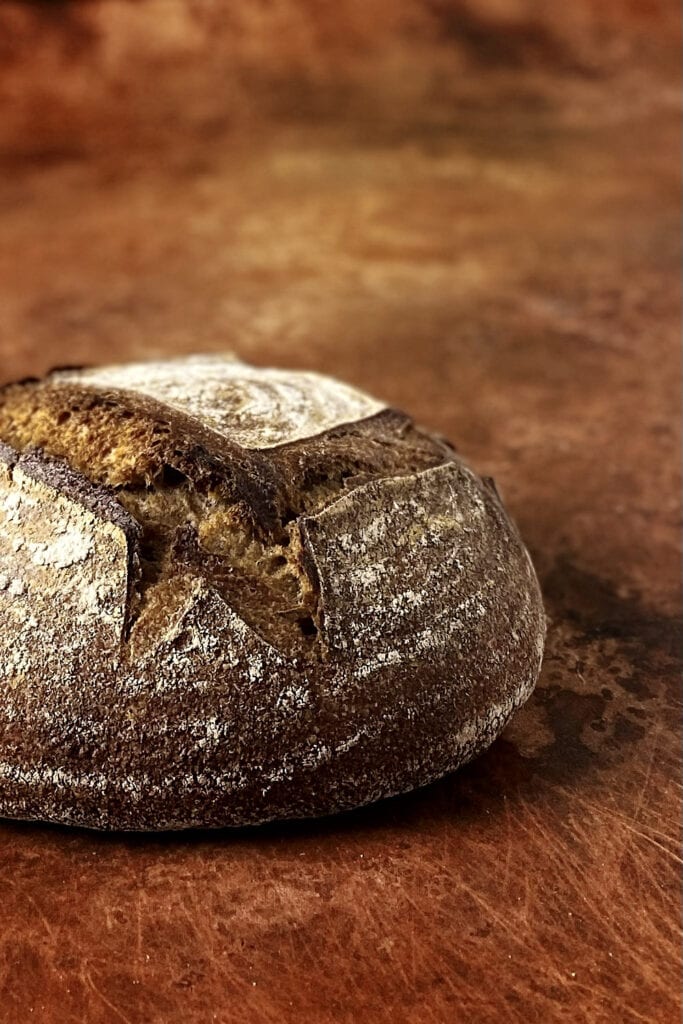
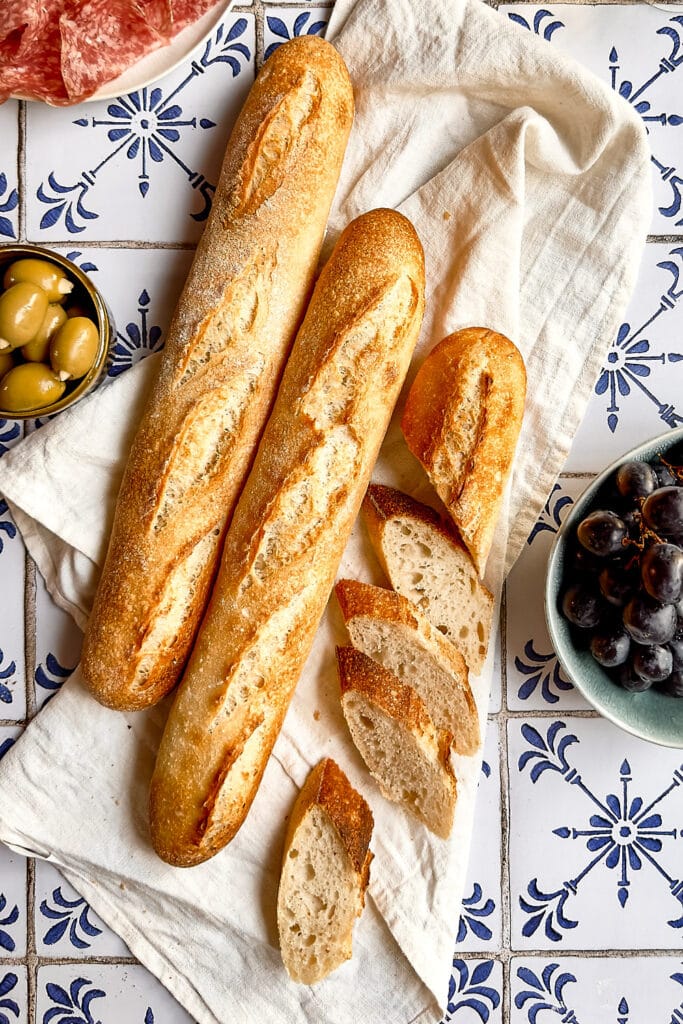
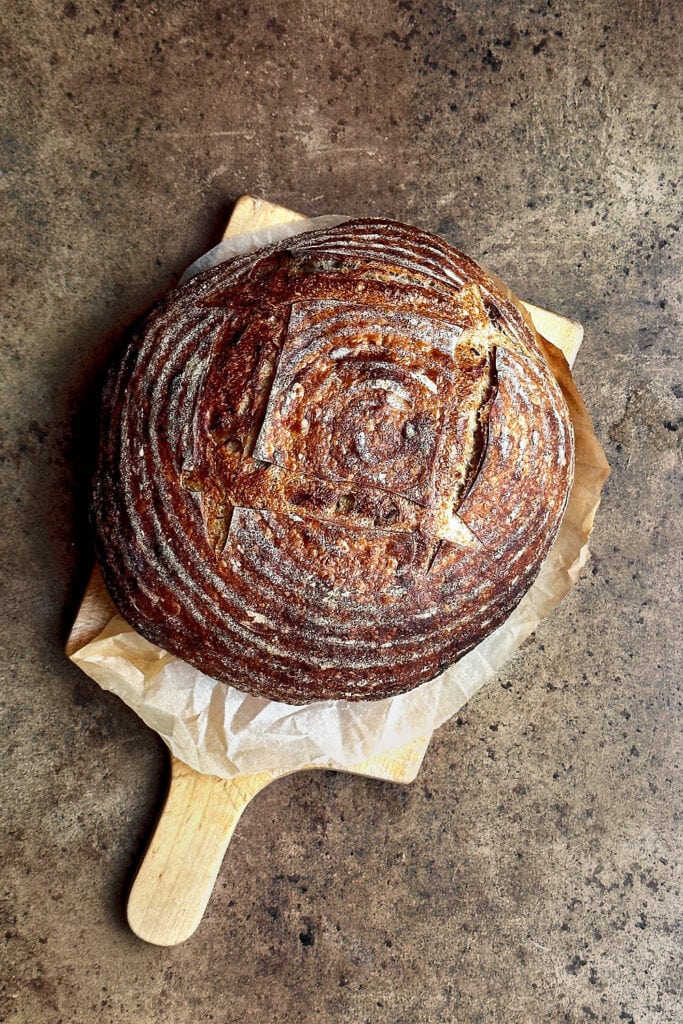
More Sourdough Recipes You May Like:


Simple Same Day Sourdough Bread
Equipment
- Digital kitchen scale – for best results always weigh your ingredients. It’s more accurate than measuring by volume.
- Fork or dough whisk – to mix ingredients
- bench scraper – to help shape and handle the dough
- Banneton – to help the bread retain its shape while proofing
- Plastic wrap or tea towel – to cover the dough while resting
- Bread lame or sharp serrated knife – to score the bread before baking
- Dutch oven or large oven-safe stock pot – this creates a steamy environment for the bread to be baked in and results in better oven spring, a softer crumb and a thin and crispy crust.
Ingredients
For the leaven:
- 30 g Sourdough starter – for this recipe, you need a sourdough starter that’s strong enough to double in size within 4 hours of feeding
- 35 g Water – lukewarm
- 70 g Flour – All-purpose
For the main dough:
- 100 g Leaven – the remaining leaven will be your starter to store in the fridge for the next use
- 200 g Water – lukewarm
- 300 g Flour – bread flour or all-purpose flour with 11-12% protein
- 7 g Sea salt – fine grain
Instructions
- Mix the sourdough starter with water and flour and let it rest in a warm spot* (around 28 degrees Celsius) for around 4 – 6 hours. It’s ready to use when it has doubled or tripled in size, looks bubbly and still has a slightly domed top.
- When the leaven is ripe, prepare the main dough: Remove 100 g of the ripe leaven to use in the recipe and store the glass jar with the remaining leaven in the fridge for the next use. In a mixing bowl, dissolve the leaven in the water and add flour and salt. Use a dough hook or fork to bring everything together until you have a shaggy dough. Finish mixing with your hands and make sure that all the flour is well incorporated without any dry patches left. Cover with a damp tea towel and let it rest on the counter for 30 minutes.
- After the first rest, knead the dough for a few minutes by hand until it starts to look and feel smoother. This shouldn't take much longer than 1-2 minutes.
- For the bulk fermentation, place the dough in a lightly oiled bowl, cover with a damp tea towel and let it rise in a warm spot for around 4 hours or until you can see visible signs of fermentation. At this stage, the dough should have visibly grown in size. You should see lots of smaller air bubbles throughout the dough and some larger ones on the surface. If the dough still looks dense, let it rest longer.
- Flour the banneton and set aside. Pre-shape the dough: Gently turn the dough out on a lightly floured surface, bring all 4 corners of the dough into the center, overlapping, to form a loose ball. Flip it over and let it rest for 10-30 minutes. During the bench rest, the gluten will relax, and the dough will spread out a bit. Flip the dough over again and shape a batard. Put the dough into the banneton and let it rest in a warm spot for the final proof, around 1.5 -2 hours**. During the last 30 minutes of proofing, pre-heat the oven to 230 degrees Celsius with the dutch-oven inside.
- Turn the dough out on a piece of parchment paper, score, and bake 30 minutes inside the Dutch oven. Then, lower the temperature to 220 degrees Celsius. Lift the bread out of the Dutch oven and finish baking directly on the oven rack for another 15 minutes, or until the crust has a deeply golden color.
- Let the loaf cool on a cooling rack for at least one hour before slicing. If you slice the bread while it's still hot, you risk ending up with a gummy and sticky crumb. This bread is best enjoyed on the day it’s baked.