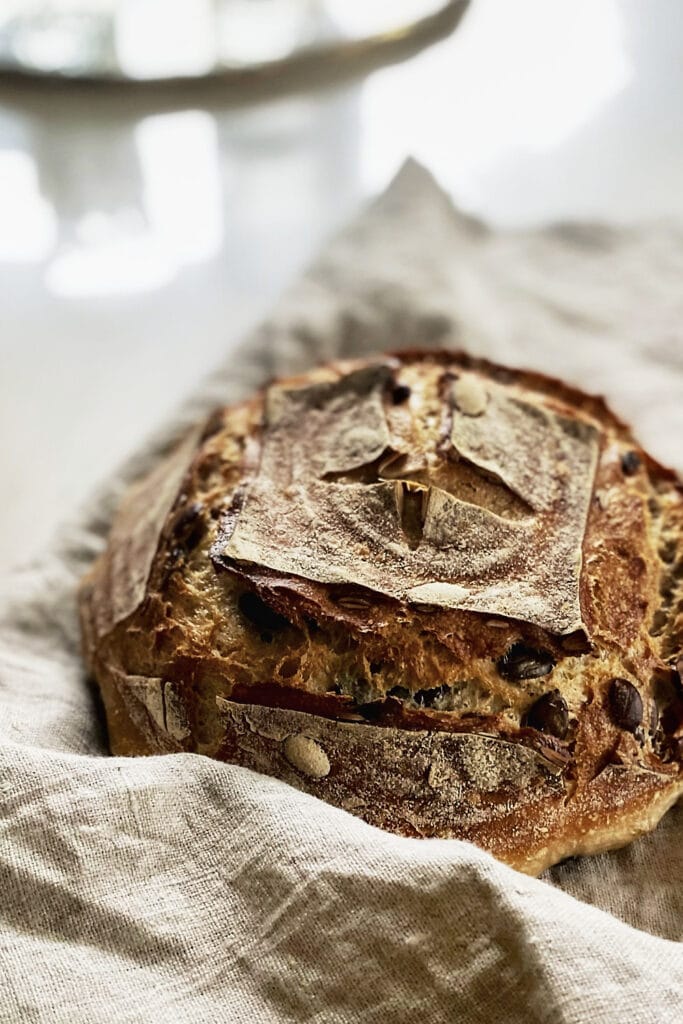
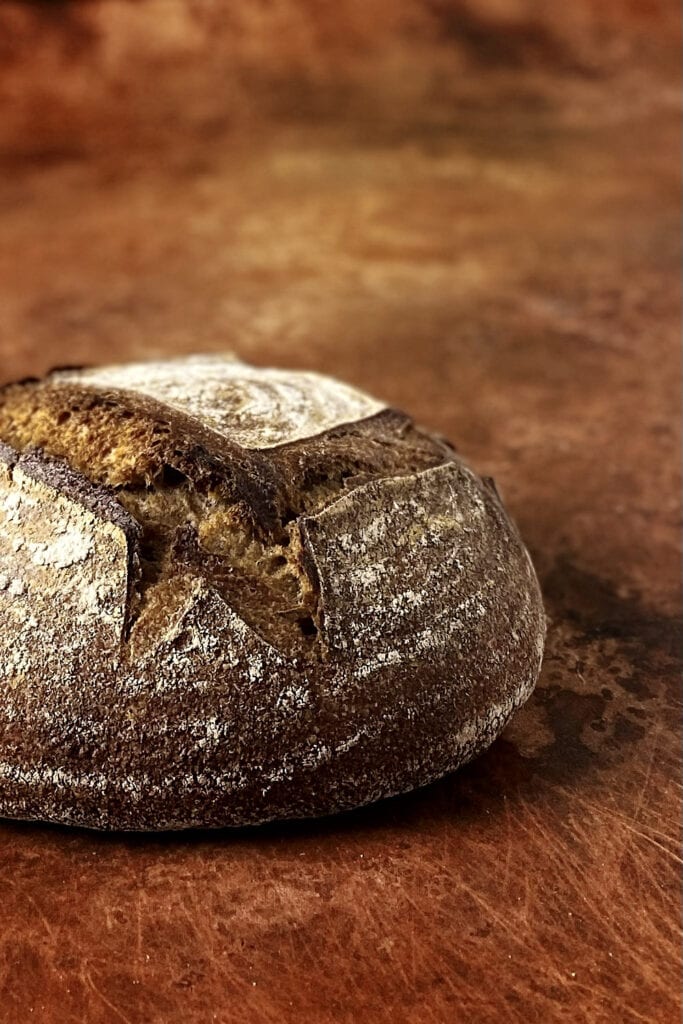
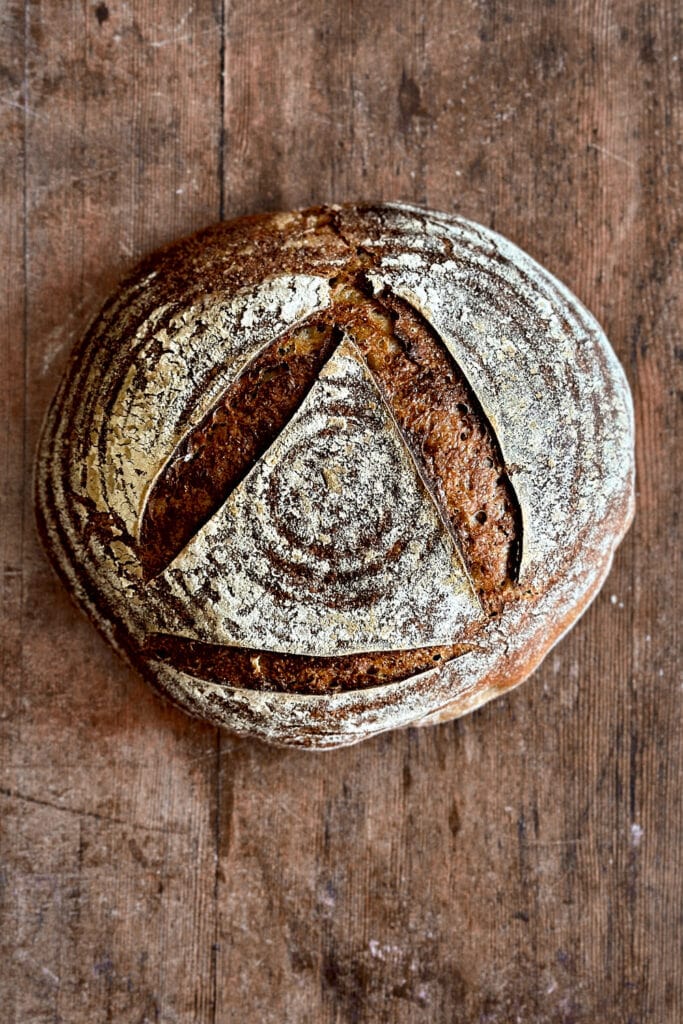
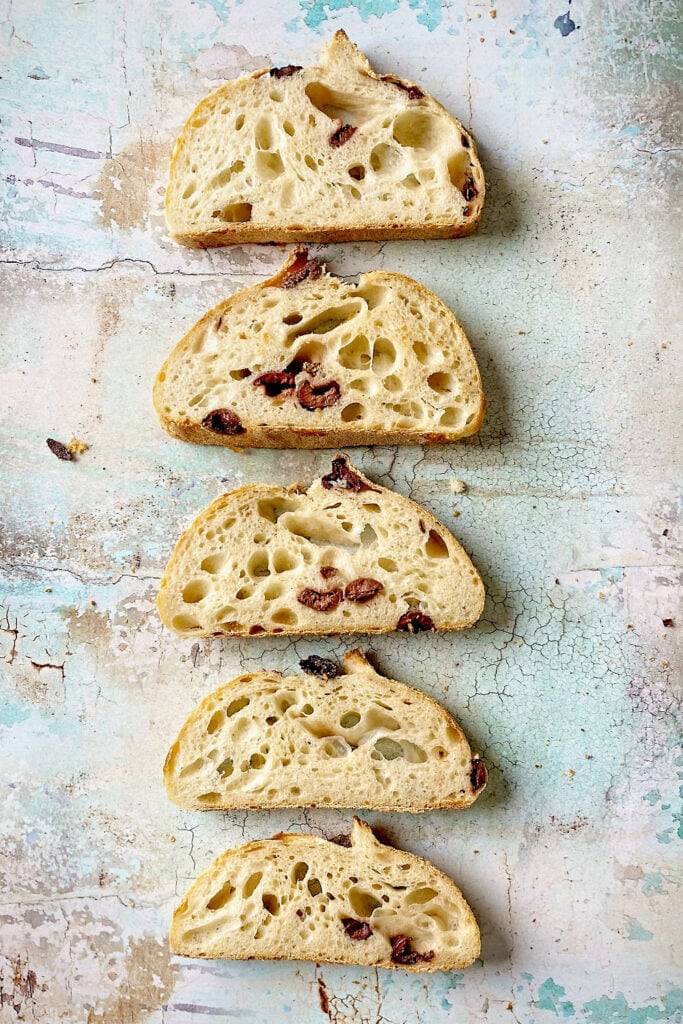
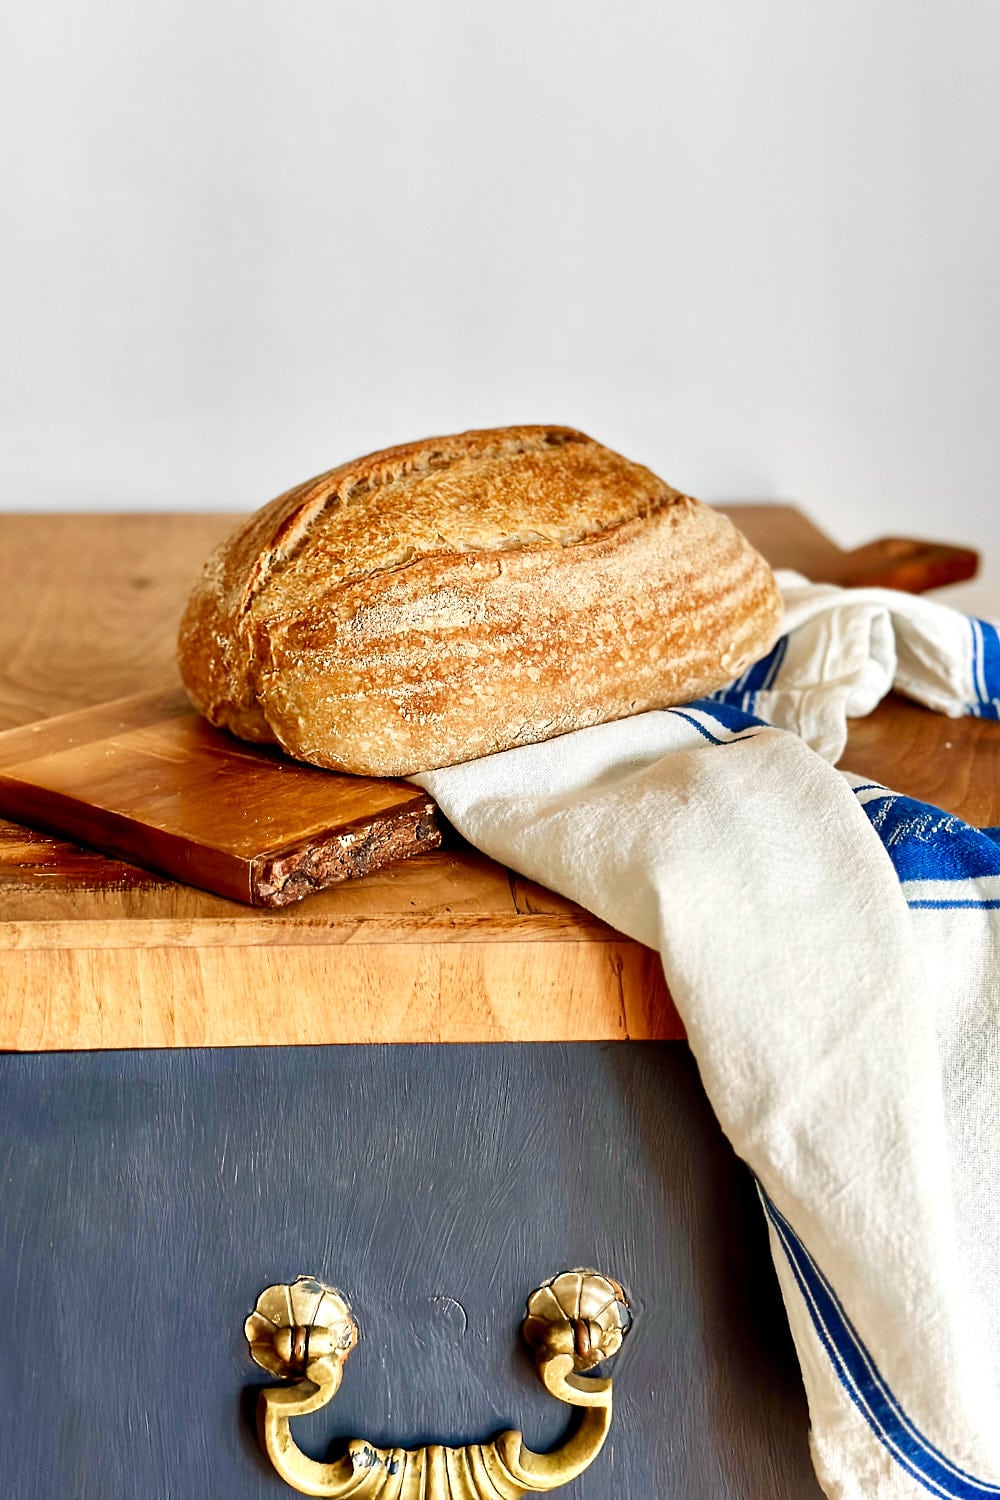
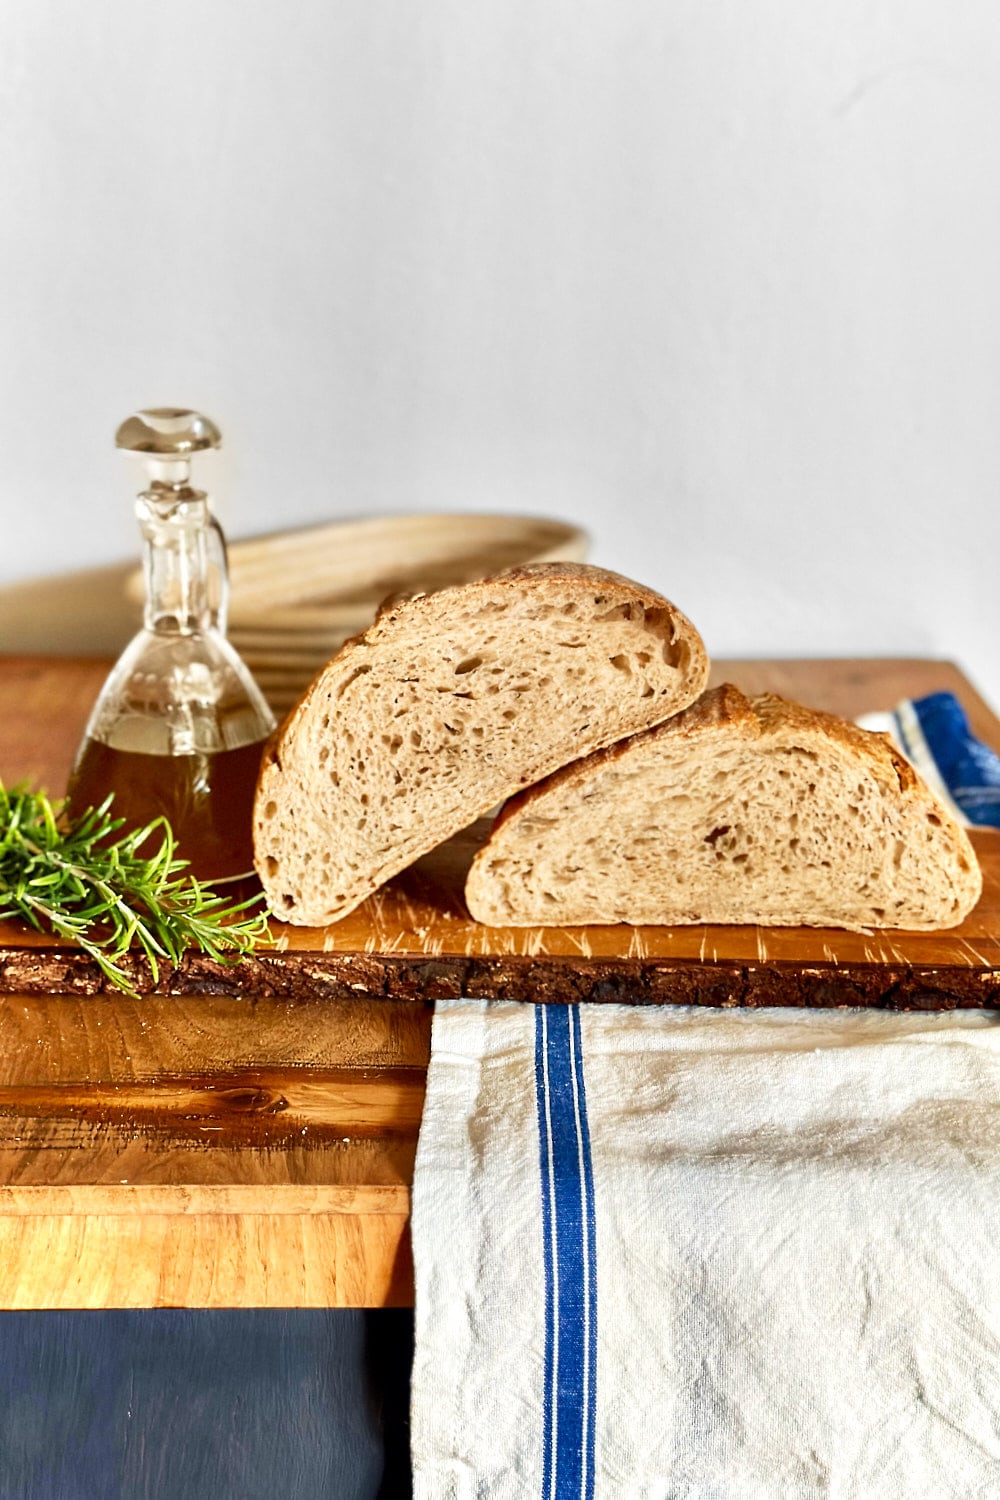
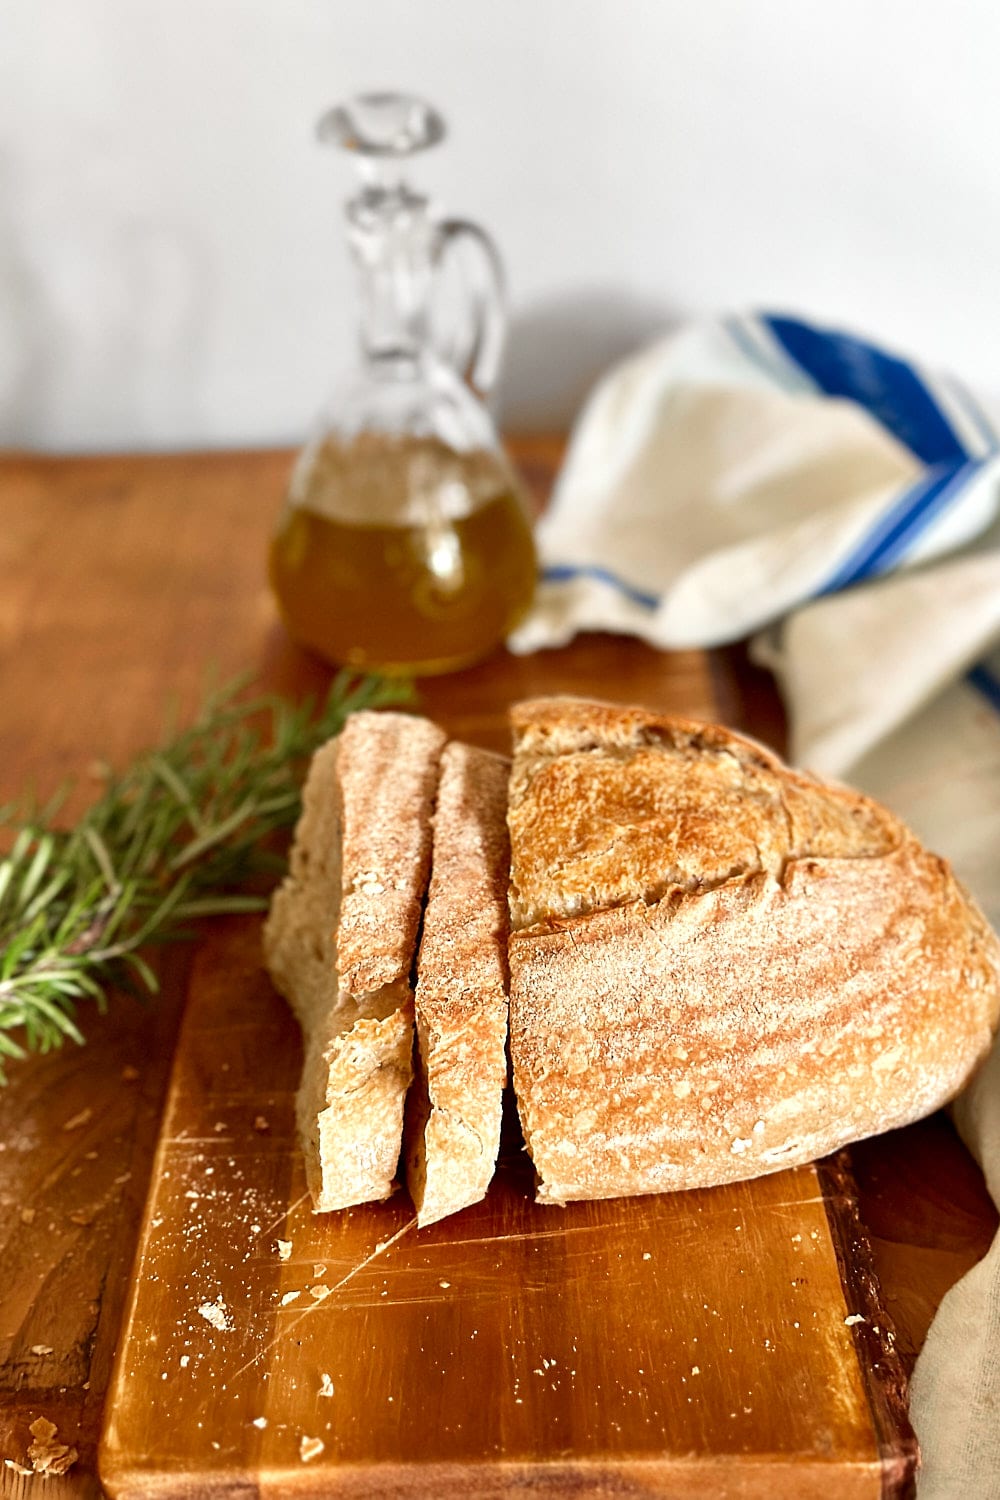
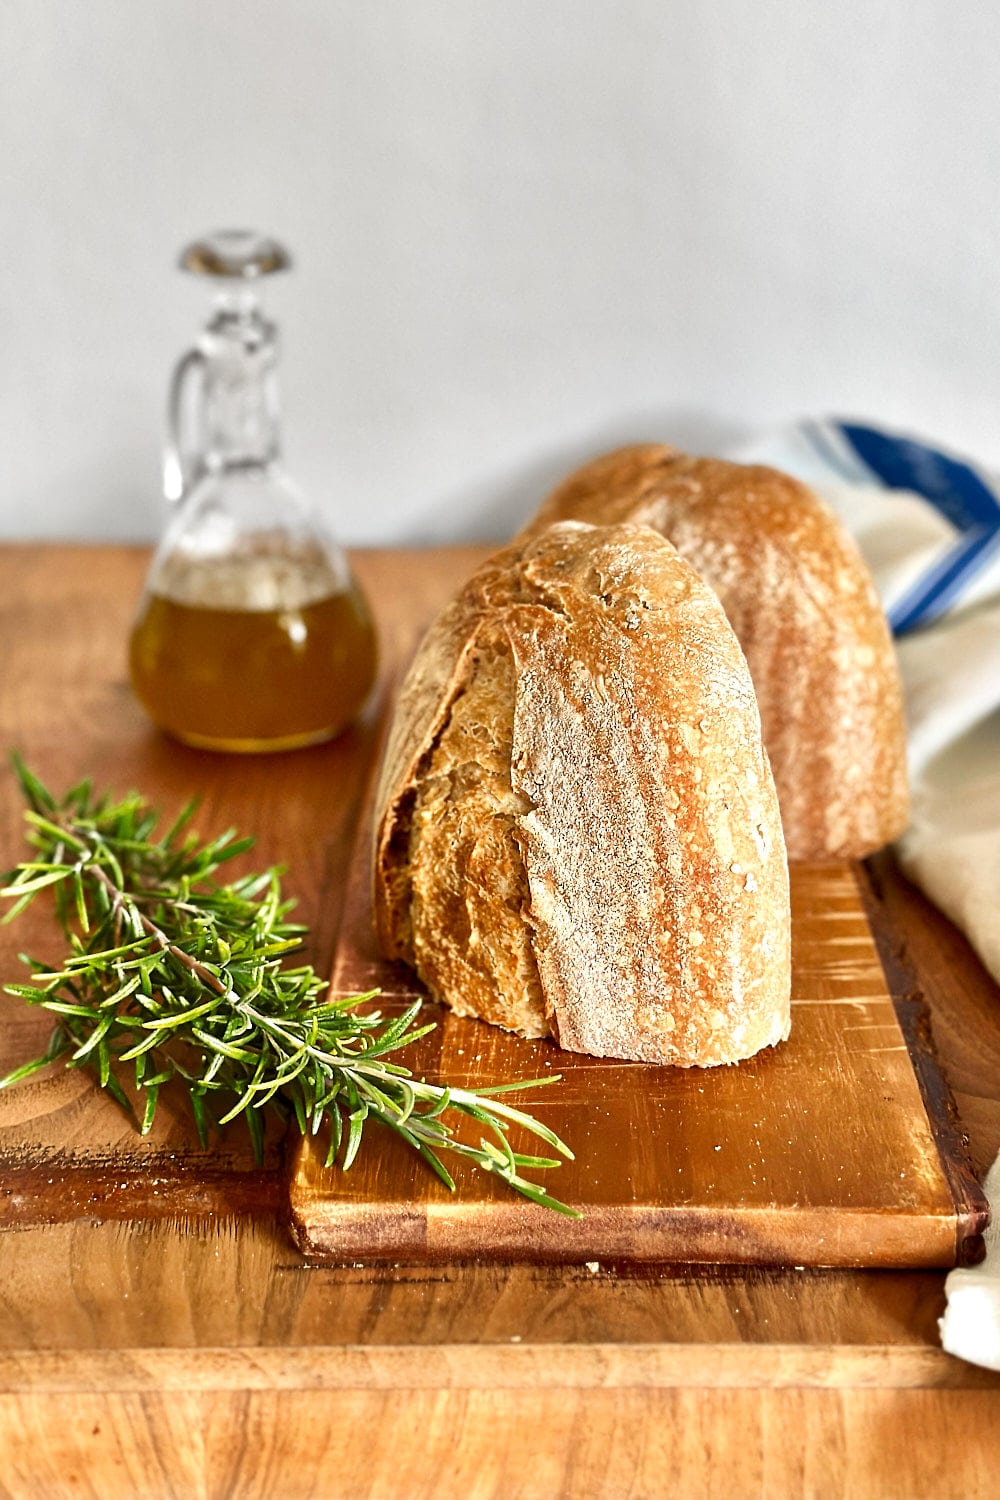
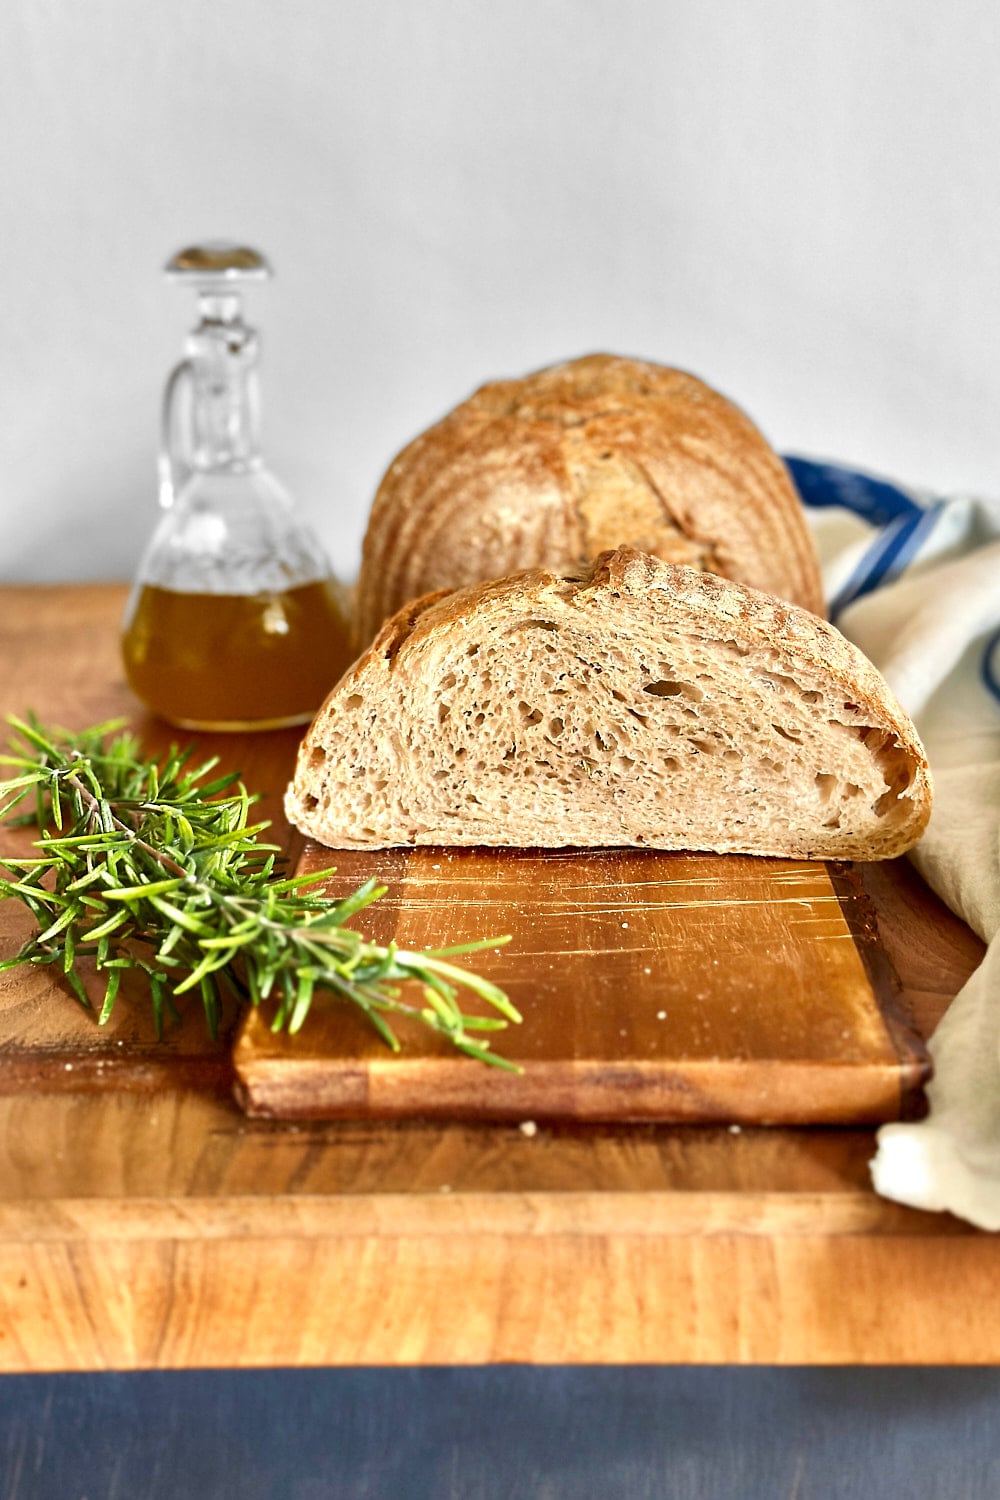
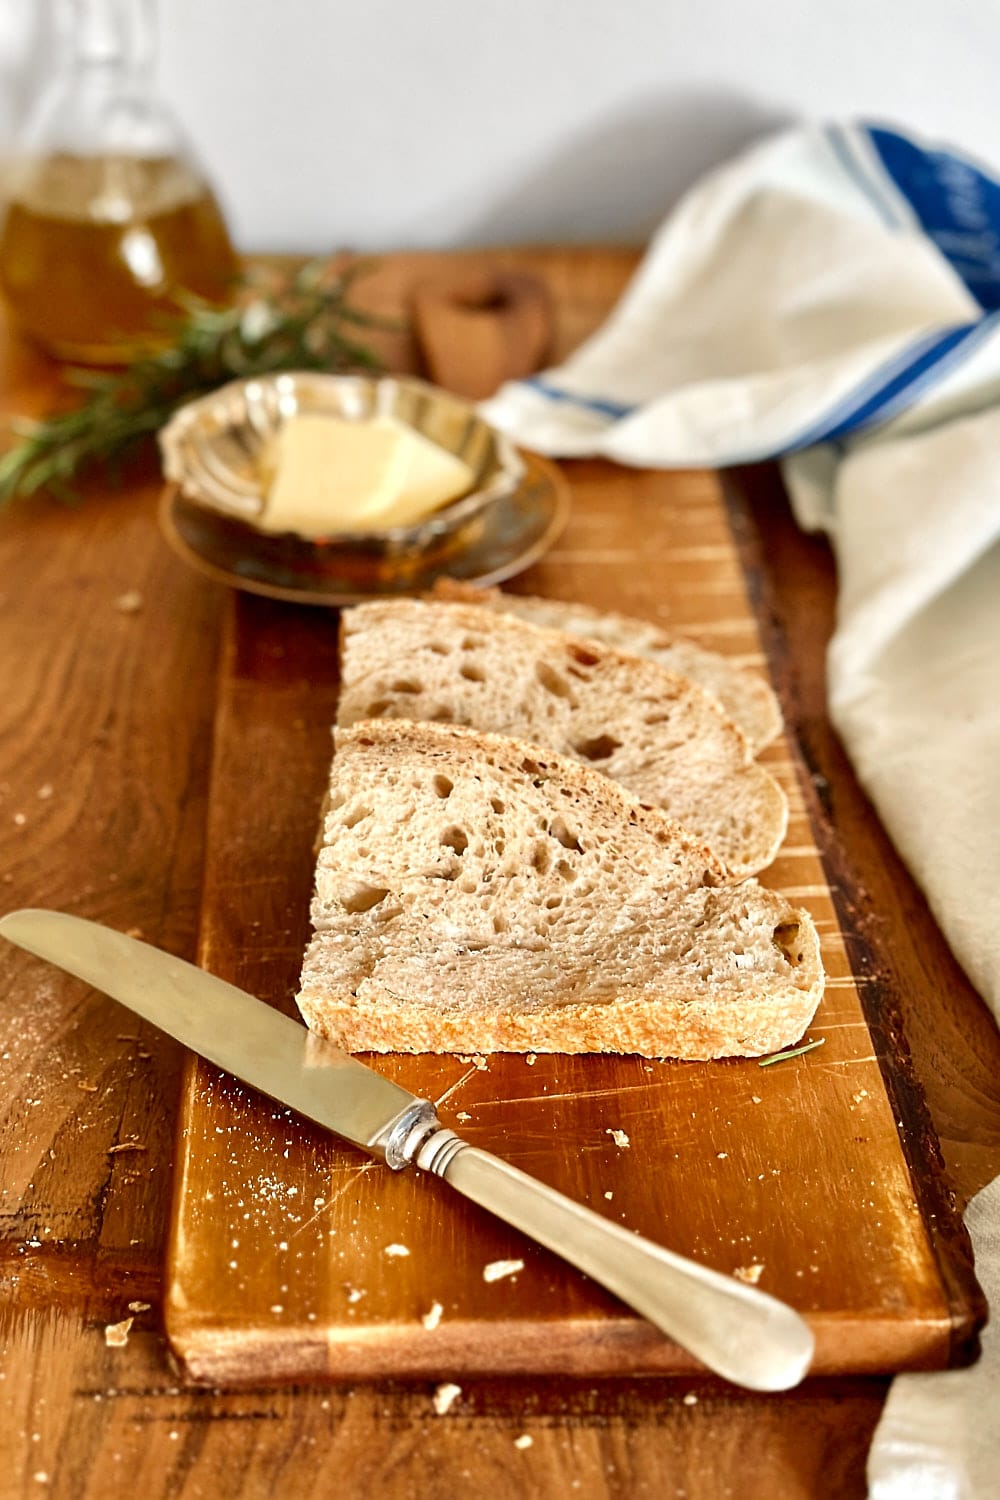
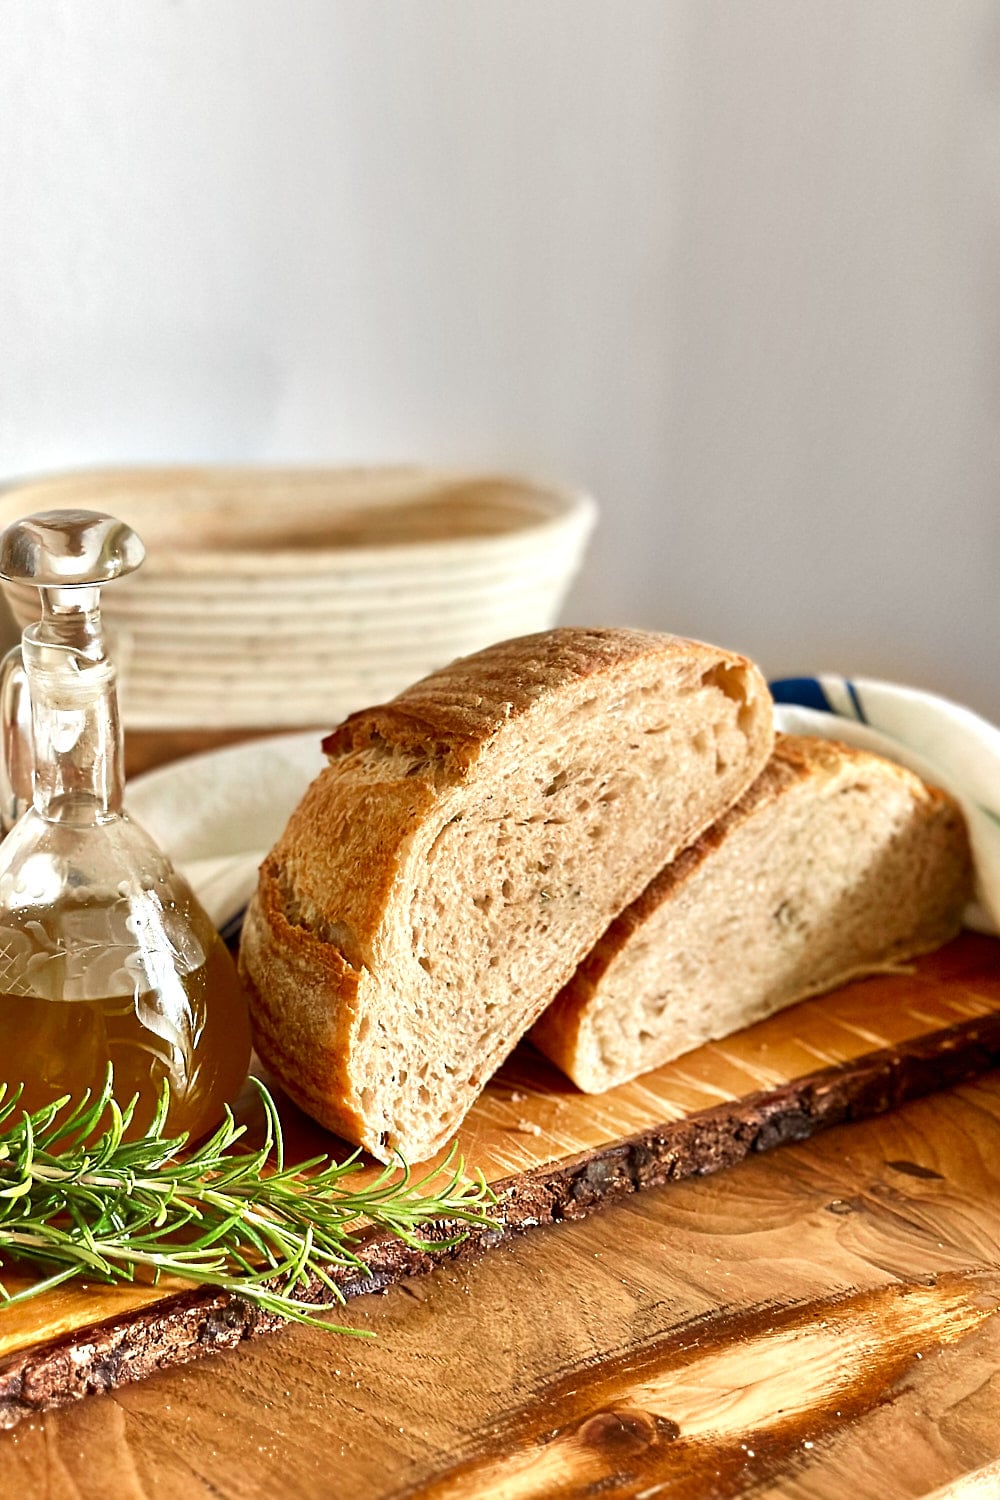
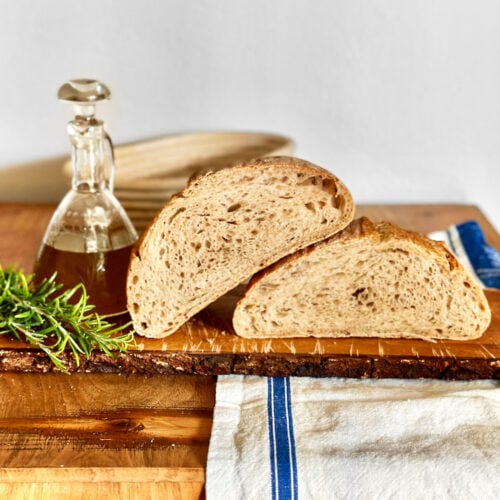
Aromatic Rosemary Sourdough Bread
This rustic rosemary sourdough bread is perfect for making sandwiches or serving it alongside soups and salads. It’s enhanced with fresh, finely chopped rosemary and a bit of olive oil, which impart a delicious and aromatic flavor to the bread.
Ingredients and Tools You’ll Need
Step-by-Step Instructions
Step 1
In the morning, make the leaven: Add the sourdough starter and water to a mason jar. Stir until the starter is fully dissolved. Then, add the flour and mix to combine. The leaven will have a stiff, dough-like consistency. To ensure that the flour is fully incorporated, you can briefly knead the leaven on the counter, until it feels smooth and elastic. Place it back into the jar, cover it loosely with a lid, and let it rise in a warm spot (ideally between 26 °C and 29 °C) for about 4–6 hours, or until it has doubled (or tripled) in size. It’s ripe and ready to use when it looks airy and has a mild, yogurt-like aroma. Please keep in mind that the actual time it takes for the dough to rise may vary depending on your room temperature and the activity of your starter. In a cooler environment, the dough will need more time to rise. Always make sure, to only use the leaven when it has at least doubled in volume. This ensures that it’s strong and active enough to raise the bread dough.
Step 2
Once the leaven is ripe and ready to use, prepare the main dough: Add the leaven, lukewarm water, and flour to a mixing bowl. Using a dough whisk or wooden spoon, mix the ingredients until a shaggy dough forms. Cover the bowl with a damp tea towel and let it rest on the counter for about 30 minutes. This allows the flour to fully absorb the water and jumpstarts the gluten development.
Step 3
After the bench rest, add the salt. Dimple it in with wet fingers and evenly distribute it throughout the dough. Next, drizzle in the olive oil and knead it in with your hands, until fully incorporated. Lightly wet your worksurface with a bit of water and dump the dough onto it. Perform a few rounds of the slap & fold technique, to strengthen the dough and develop structure. It will take about 5 minutes until the dough changes from being sticky to becoming smooth and elastic. Once the dough feels smooth, transfer it to a lightly greased bowl for the bulk fermentation and cover it with a damp tea towel or plastic wrap.
Step 4
Let the dough rise in a warm spot (26 °C to 28 °C) for about 4 hours in total. After the first hour, perform a set of coil folds to further strengthen the dough. After the second hour, laminate the dough to add the freshly chopped rosemary. Fold the dough back together into a tight package and continue to let it rise for another two hours. By the end of the bulk fermentation, the dough should have increased in size by about 50%–75%. It should look airy and contain lots of smaller and bigger bubbles. If it hasn’t risen much after 4 hours and still looks compact, let it rise longer and/or transfer it to a warmer place. The time it takes for the dough to rise depends on the proofing temperature and the activity of the starter. The warmer it is, the faster the dough will rise. In a cooler environment, the dough might need 6 – 8 hours to rise. For best results, always keep an eye on the dough and look for visual cues, such as the increase in size and the development of air bubbles, to help ensure it’s properly proofed.
Step 5
After the bulk fermentation, dump the dough out on a lightly floured work surface and pre-shape it loosely into a round shape. Let it rest on the counter for about 30 minutes. Then, using a bench scraper, flip it over and shape it into a batard. Place it in a floured banneton and loosely cover it with plastic wrap, or put it in a plastic bag. Place the dough in the fridge overnight.
Step 6
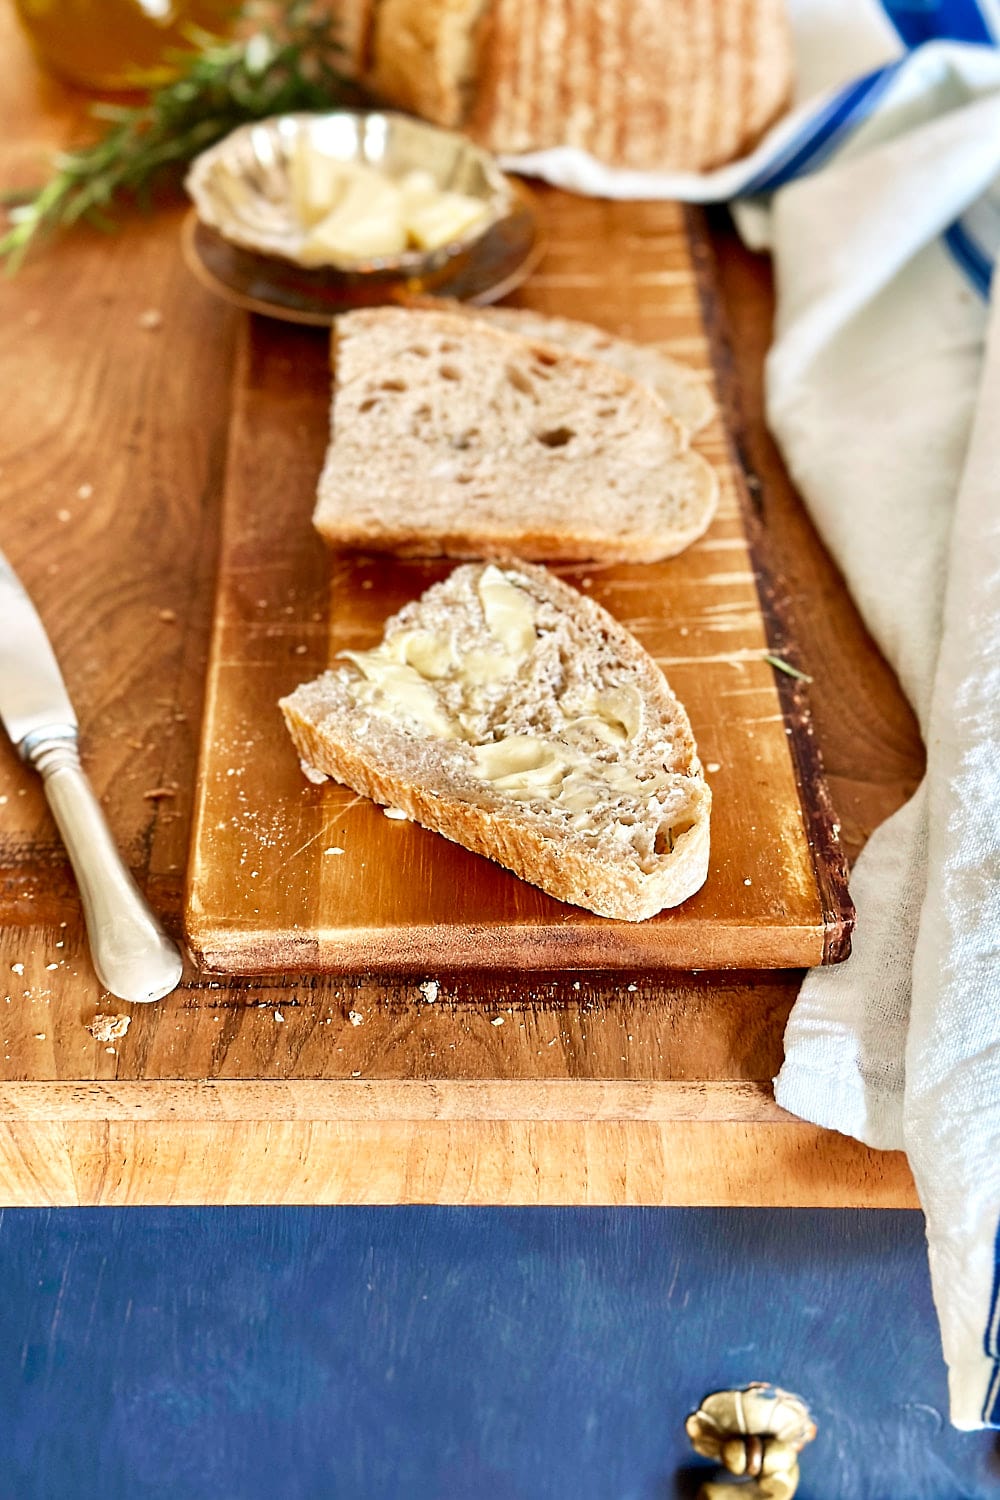
The next morning, pre-heat the oven to 240 °C with the Dutch oven inside. Once it’s pre-heated, carefully take the Dutch oven out and turn the bread dough out of the banneton directly into the Dutch oven. Use a bread lame or a serrated knife to cut one long slash lengthwise along the top of the dough. Place the lid of the Dutch oven back on and load it into the oven. Reduce the temperature to 230 °C and bake the bread for 15 minutes. Then, remove the lid, reduce the temperature to 220 °C, and bake for another 15 minutes, or until the crust is crispy and deeply golden brown. Remove the bread from the oven and let it cool completely on a wire rack before slicing. This allows the internal moisture to redistribute evenly throughout the loaf and sets the crumb, resulting in better texture and flavor. Slicing the bread, while still warm, can result in a sticky and gummy crumb. The wait is worth it! This bread is delicious to serve alongside soups, stews, or antipasti platters. Stored at room temperature in a bread box or linen bag, it will stay fresh for about 3–4 days.
Sample Baking Schedule
Day 1
Day 2
More Sourdough Recipes You May Like:


Aromatic Rosemary Sourdough Bread
Equipment
- Mixing bowl
- bench scraper
- Oval banneton
- Dutch oven
Ingredients
For the stiff leaven:
- 35 g sourdough starter
- 35 g lukewarm water
- 70 g bread flour
For the main dough:
- 120 g active leaven
- 225 g lukewarm water
- 250 g bread flour
- 30 g whole grain rye flour
- 7 g salt
- 4 g finely chopped, fresh rosemary (about two to three sprigs)
Instructions
- In the morning, make the leaven: Add the sourdough starter and water to a mason jar. Stir until the starter is fully dissolved. Then, add the flour and mix to combine. The leaven will have a stiff, dough-like consistency. To ensure that the flour is fully incorporated, you can briefly knead the leaven on the counter, until it feels smooth and elastic. Place it back into the jar, cover it loosely with a lid, and let it rise in a warm spot (ideally between 26 °C and 29 °C) for about 4–6 hours, or until it has doubled (or tripled) in size. It’s ripe and ready to use when it looks airy and has a mild, yogurt-like aroma. Please keep in mind that the actual time it takes for the dough to rise may vary depending on your room temperature and the activity of your starter. In a cooler environment, the dough will need more time to rise. Always make sure, to only use the leaven when it has at least doubled in volume. This ensures that it’s strong and active enough to raise the bread dough.
- Once the leaven is ripe and ready to use, prepare the main dough: Add the leaven, lukewarm water, and flour to a mixing bowl. Using a dough whisk or wooden spoon, mix the ingredients until a shaggy dough forms. Cover the bowl with a damp tea towel and let it rest on the counter for about 30 minutes. This allows the flour to fully absorb the water and jumpstarts the gluten development.
- After the bench rest, add the salt. Dimple it in with wet fingers and evenly distribute it throughout the dough. Next, drizzle in the olive oil and knead it in with your hands, until fully incorporated. Lightly wet your worksurface with a bit of water and dump the dough onto it. Perform a few rounds of the slap & fold technique, to strengthen the dough and develop structure. It will take about 5 minutes until the dough changes from being sticky to becoming smooth and elastic. Once the dough feels smooth, transfer it to a lightly greased bowl for the bulk fermentation and cover it with a damp tea towel or plastic wrap.
- Let the dough rise in a warm spot (26 °C to 28 °C) for about 4 hours in total. After the first hour, perform a set of coil folds to further strengthen the dough. After the second hour, laminate the dough to add the freshly chopped rosemary. Fold the dough back together into a tight package and continue to let it rise for another two hours. By the end of the bulk fermentation, the dough should have increased in size by about 50%–75%. It should look airy and contain lots of smaller and bigger bubbles. If it hasn’t risen much after 4 hours and still looks compact, let it rise longer and/or transfer it to a warmer place. The time it takes for the dough to rise depends on the proofing temperature and the activity of the starter. The warmer it is, the faster the dough will rise. In a cooler environment, the dough might need 6 – 8 hours to rise. For best results, always keep an eye on the dough and look for visual cues, such as the increase in size and the development of air bubbles, to help ensure it's properly proofed.
- After the bulk fermentation, dump the dough out on a lightly floured work surface and pre-shape it loosely into a round shape. Let it rest on the counter for about 30 minutes. Then, using a bench scraper, flip it over and shape it into a batard. Place it in a floured banneton and loosely cover it with plastic wrap, or put it in a plastic bag. Place the dough in the fridge overnight.
- The next morning, pre-heat the oven to 240 °C with the Dutch oven inside. Once it’s pre-heated, carefully take the Dutch oven out and turn the bread dough out of the banneton directly into the Dutch oven. Use a bread lame or a serrated knife to cut one long slash lengthwise along the top of the dough. Place the lid of the Dutch oven back on and load it into the oven. Reduce the temperature to 230 °C and bake the bread for 15 minutes. Then, remove the lid, reduce the temperature to 220 °C, and bake for another 15 minutes, or until the crust is crispy and deeply golden brown. Remove the bread from the oven and let it cool completely on a wire rack before slicing. This allows the internal moisture to redistribute evenly throughout the loaf and sets the crumb, resulting in better texture and flavor. Slicing the bread, while still warm, can result in a sticky and gummy crumb. The wait is worth it! This bread is delicious to serve alongside soups, stews, or antipasti platters. Stored at room temperature in a bread box or linen bag, it will stay fresh for about 3–4 days.