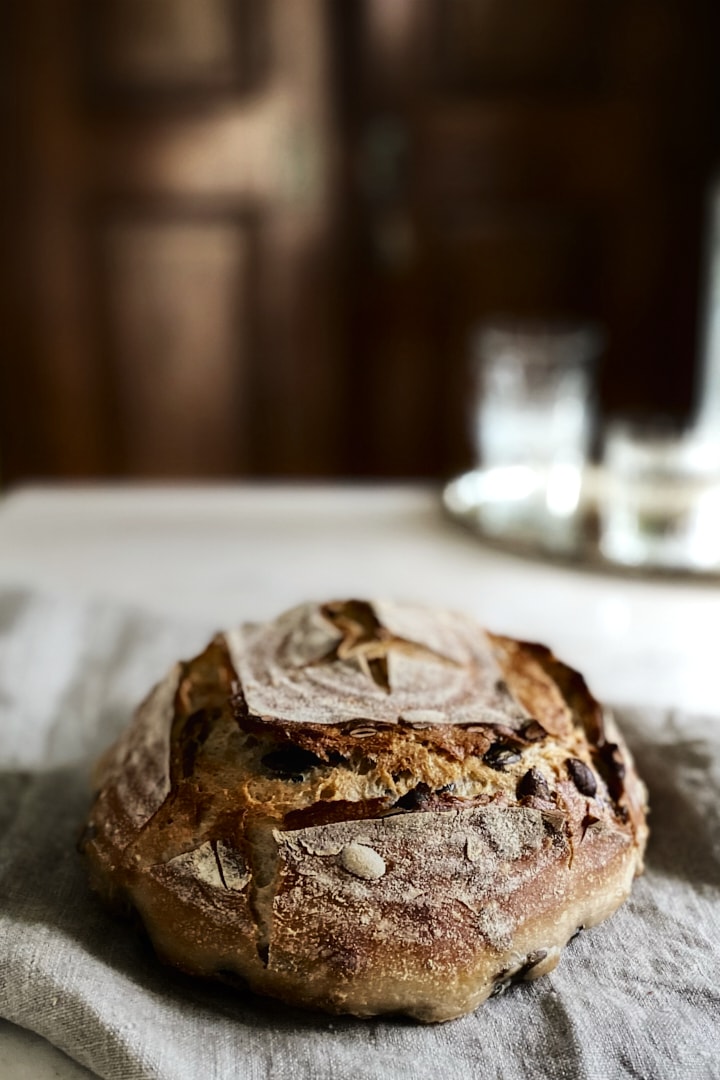
Easy No-Knead Pumpkin Seed Bread
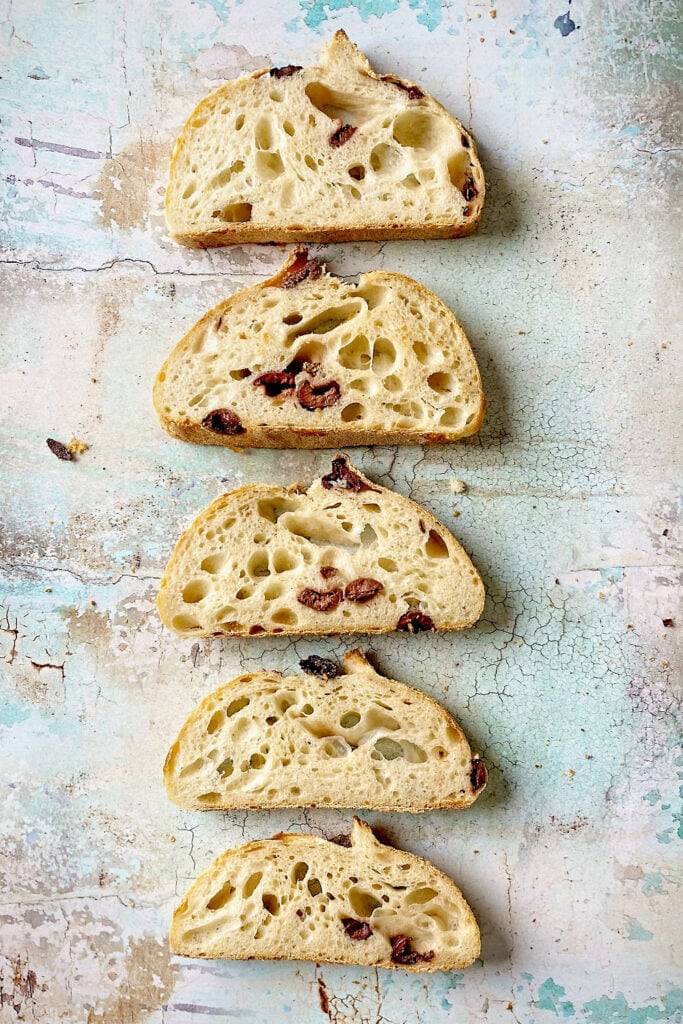
This seeded sourdough bread uses a mix of wheat and rye flour. The inside is packed with soaked pumpkin seeds, which adds extra moisture to the dough and keeps the bread fresh for longer. It’s naturally leavened with a stiff sourdough starter and includes a cold overnight proof in the fridge.
Ingredients and Tools You’ll Need

Step-by-Step Instructions
Step 1
In the morning, prepare the leaven: Mix the sourdough starter with lukewarm water and flour and let it rest in a warm spot (around 28 °C) for 4 hours or until doubled in size. In the winter, you can place it in the oven with a hot water bottle on the bottom rack. This creates a nice and warm environment for the dough to rise in. After feeding the starter, soak the pumpkin seeds in a small mixing bowl with hot water. Once the water has cooled down, put the bowl in the fridge until the leaven is ripe. During this time, the seeds will absorb the liquid, which adds extra moisture to the dough.
Step 2
When the leaven is ripe, prepare the main dough: In a mixing bowl, dissolve the sourdough starter in the water and add flour and salt. Use a dough whisk to bring everything together into a shaggy dough. Finish mixing with your hands until there are no dry patches of flour left. Let it rest for 30 minutes on the counter. Then add the soaked pumpkin seeds and briefly knead until fully incorporated.
Step 3
For the bulk fermentation, cover the dough with a damp tea towel or plastic bag and let it rise in a warm spot (28° C) for 3 – 3.5 hours, or until the dough has visibly increased in size. Rye tends to ferment quite fast, so keep an eye on your dough to check the progress. By the end of the bulk fermentation, you should see lots of small air bubbles throughout the dough and some larger ones on the surface.
Step 4
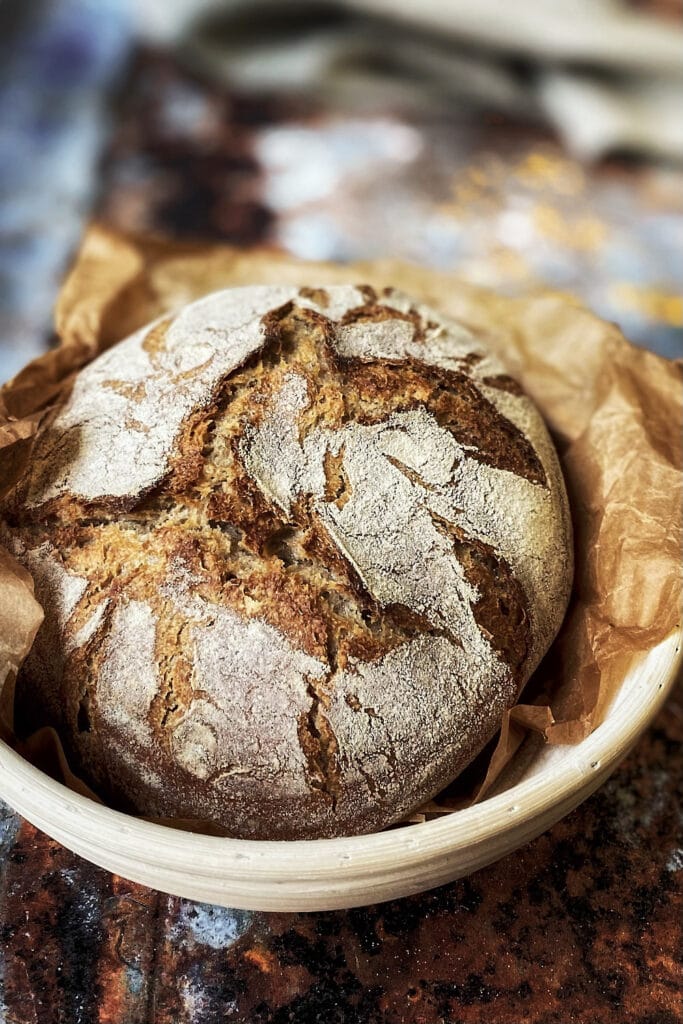
Dust a round proofing basket with flour and set it aside. Turn the dough out on a lightly floured work surface. Due to the amount of rye flour in this recipe, this is dough is quite sticky. Lightly wet your hands when shaping the dough to prevent it from sticking to your fingers. Fold the corners of the dough into the center, overlapping, to form a loose ball. Flip it over (seam side down) and let it rest for 20 – 30 minutes on the counter. Then flip it over again (seam side up) and shape it into a round loaf. Put the dough into the prepared proofing basket with the seam side up. Cover it with a damp tea towel or plastic bag and put it in the fridge overnight for the final proof.
Step 5
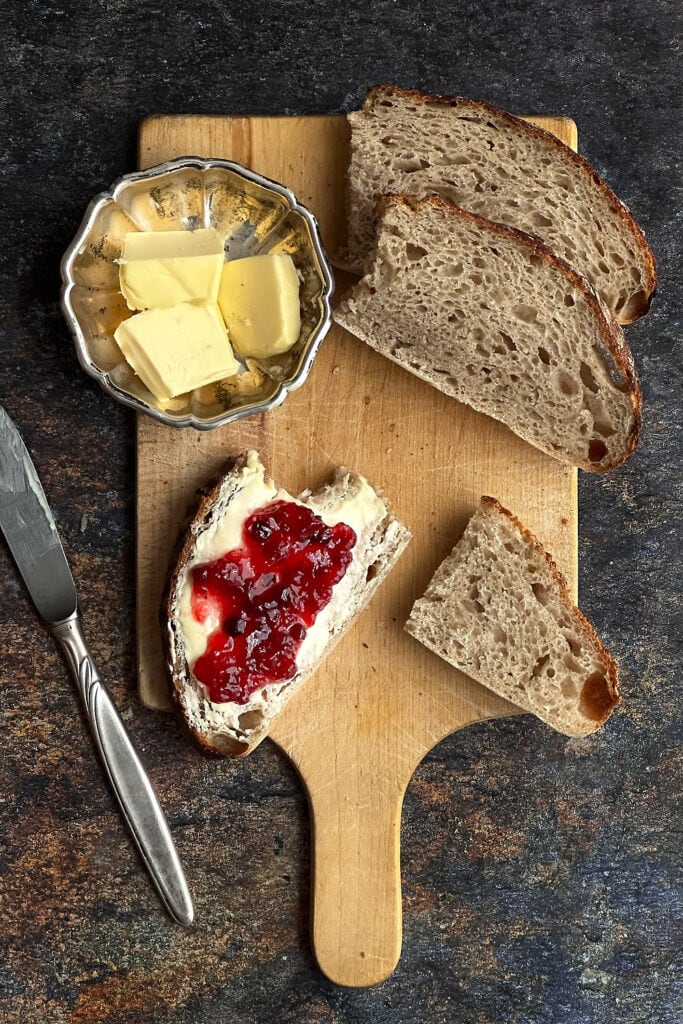
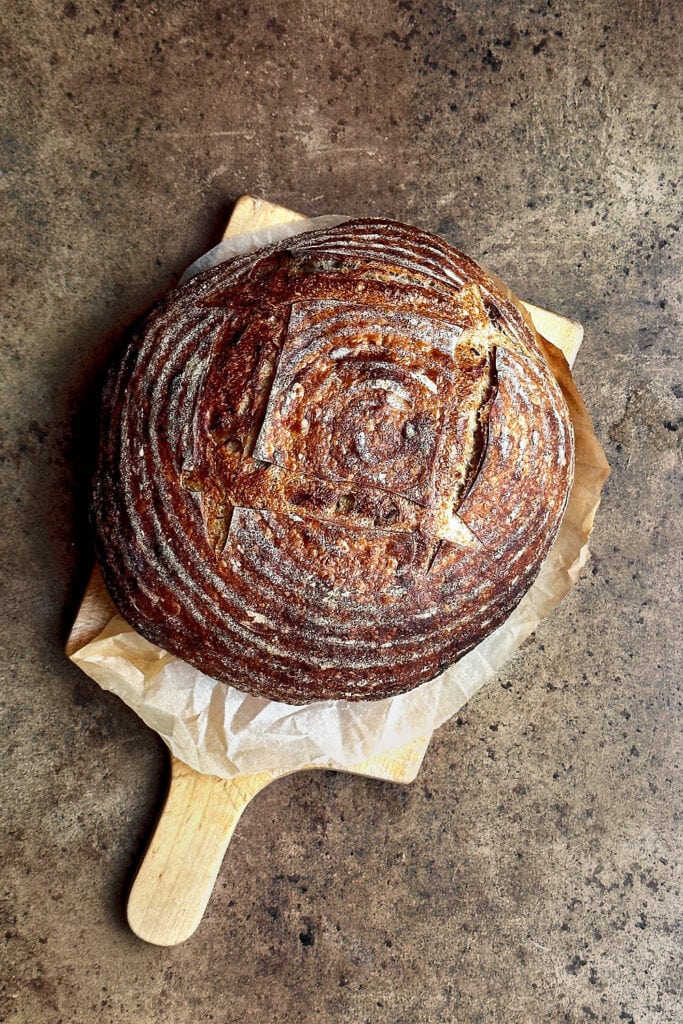
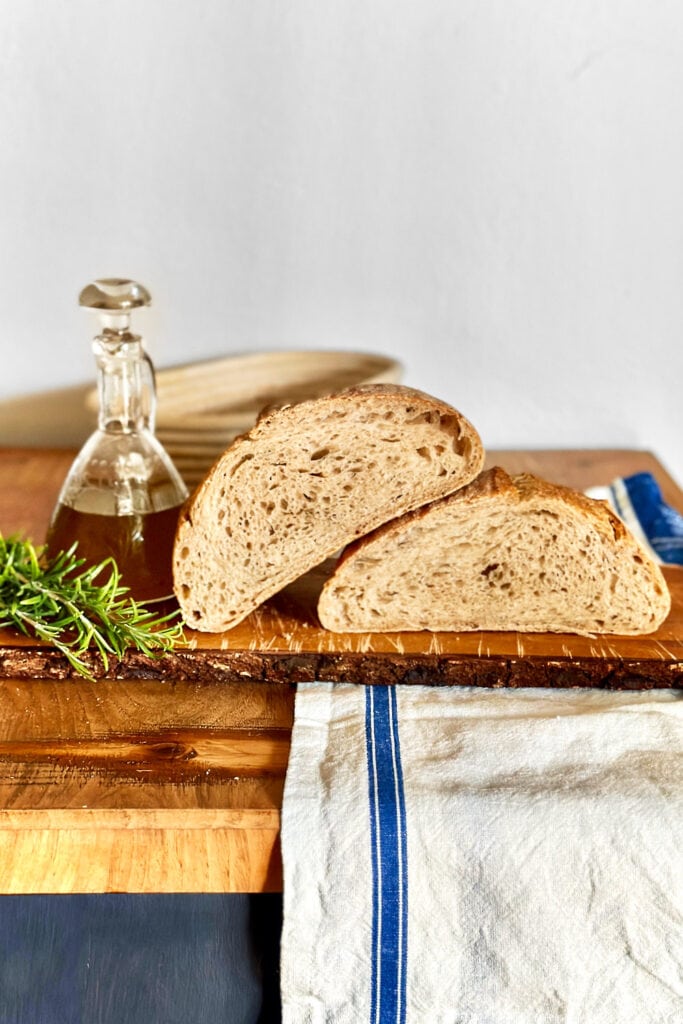
The next morning, pre-heat the oven to 240° C with the Dutch oven inside. Turn the dough out on a piece of parchment paper, score the surface of the dough, and bake for 25 minutes inside the Dutch oven. Then lower the temperature to 220° C. Gently lift the bread out of the Dutch oven and finish baking directly on the oven rack for another 10 minutes or until the crust has a golden brown color. The bread is done if you hear a hollow sound when tapping the bottom of the loaf with your knuckle. Let it cool completely before slicing. If you cut into it while it’s still hot, you risk ending up with a gummy and sticky crumb. The wait is worth it!


Sample Baking Schedule
Day 1
Day 2
More Sourdough Recipes You May Like:


No-Knead Pumpkin Seed Bread
Equipment
- Digital kitchen scale – for best results, always weigh your ingredients. It’s more accurate than measuring by volume.
- Mixing bowl – to mix and proof the dough
- Fork or dough whisk – to mix the ingredients
- bench scraper – to help shape and handle the dough
- Round proofing basket – to help the bread retain its shape while proofing
- Plastic bag or tea towel – to cover the dough while resting
- Bread lame or sharp serrated knife – to score the bread before baking
- Dutch oven or large oven-safe stock pot – this creates a steamy environment for the bread to be baked in and results in better oven spring, a softer crumb and a thin and crispy crust
Ingredients
For the leaven:
- 30 g Sourdough starter
- 30 g Water – lukewarm
- 60 g Flour – All-purpose or bread flour
For the Seeds:
- 90 g Pumpkin Seeds
- 50 g Hot water
For the main dough:
- 80 g Leaven – store the remaining leaven in the fridge for the next use
- 240 g Water – lukewarm
- 105 g Light Rye Flour
- 195 g Wheat Flour – Bread flour or all-purpose flour with a protein content of around 12%
- 7 g Sea salt – fine grain
- All of the soaked pumpkin seeds
Instructions
- In the morning, prepare the leaven: Add water and flour to your sourdough starter and mix well to combine. Let it rest in a warm spot (around 28° C) for 4 hours, or until it has doubled in size and looks bubbly. After feeding the starter, soak the pumpkin seeds in a small mixing bowl with hot water. Once the water has cooled down, transfer the bowl to the fridge until the leaven is ripe. During this time, the seeds will absorb the liquid, which adds extra moisture to the dough.
- When the leaven is ripe, prepare the main dough: In a mixing bowl, dissolve the sourdough starter in the water and add flour and salt. Use a dough whisk to bring everything together into a shaggy dough. Finish mixing with your hands until there are no dry patches of flour left. Let it rest on the counter for 30 minutes. Add the soaked pumpkin seeds and briefly knead until fully incorporated.
- For the bulk fermentation, cover the dough and let it rise in a warm spot (28° C) for 3 – 3.5 hours, or until the dough has visibly increased in size. By the end of the bulk fermentation, you should see lots of small air bubbles throughout the dough and some larger ones on the surface.
- Dust a round proofing basket with flour and set it aside. Turn the dough out on a lightly floured work surface. This dough tends to be quite sticky. It helps to lightly wet your hands when shaping the dough. Fold the corners of the dough into the center, overlapping, to form a loose ball. Flip it over (seam side down) and let it rest for 20 – 30 minutes on the counter. Then flip it over again (seam side up) and shape it into a round loaf. Put the dough into the prepared proofing basket with the seam side up. Cover it with a damp tea towel or plastic bag and put it in the fridge overnight for the final proof.
- The next morning, pre-heat the oven to 240° C with the Dutch oven inside. Turn the dough out on a piece of parchment paper, score the surface, and bake for 25 minutes inside the Dutch oven. Then lower the temperature to 220° C. Carefully lift the bread out of the Dutch oven and finish baking directly on the oven rack for another 10 minutes or until the crust has a golden brown color. The bread is done when you tap the bottom of the loaf with your knuckle and hear a hollow sound. Let the loaf cool completely before slicing.